Warcraft: Castle Nathria
A journey started with little more than goodwill and crossed fingers in April was concluded mid-September with the demise of Sire Denathrius. We weren’t sure we’d even be able to raid, and after it took 31 attempts to down Shriekwing the thought of progressing to - and beating - Denathrius seemed almost impossible. But we did it! From special extra nights to get bosses when we were that close, to #ActiBlizzWalkout solidarity sit-outs, to two-bosses-in-one-night triumphs, it was a fantastic experience.
Many congratulations and thanks to the team, ranging from grizzled veterans to bright-eyed rookies and everything in between. As our inimitable Rogue Deadbeard observed, it was the most fun he’d had in game since Vanilla (Kara notwithstanding for some!), and so say all of us.
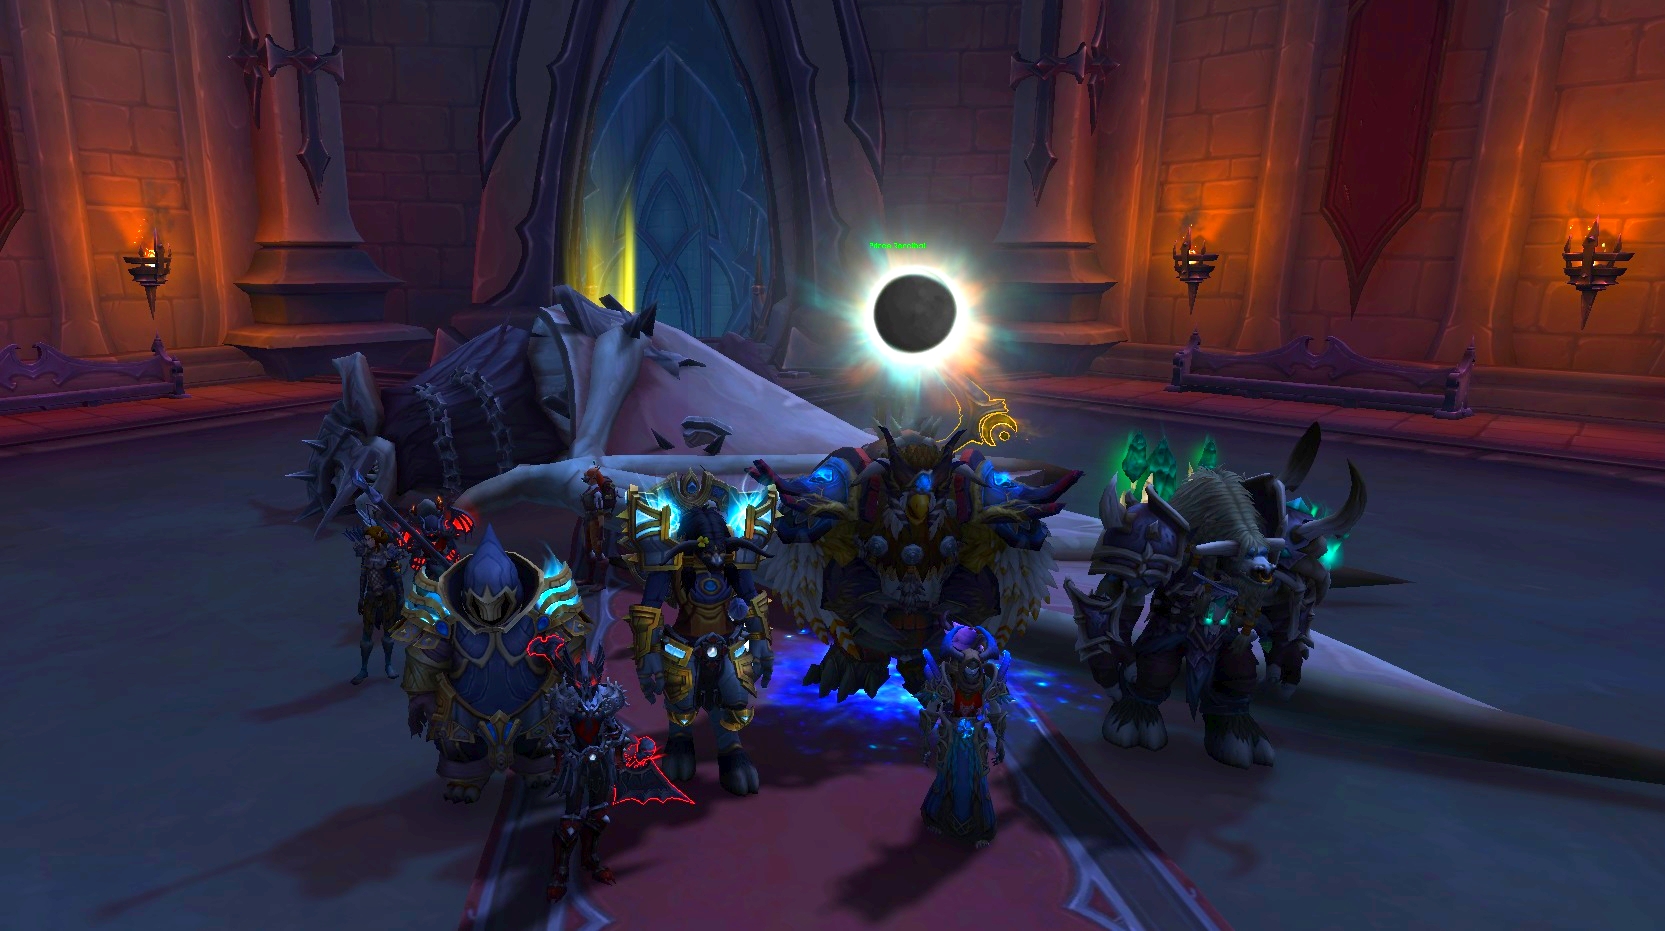
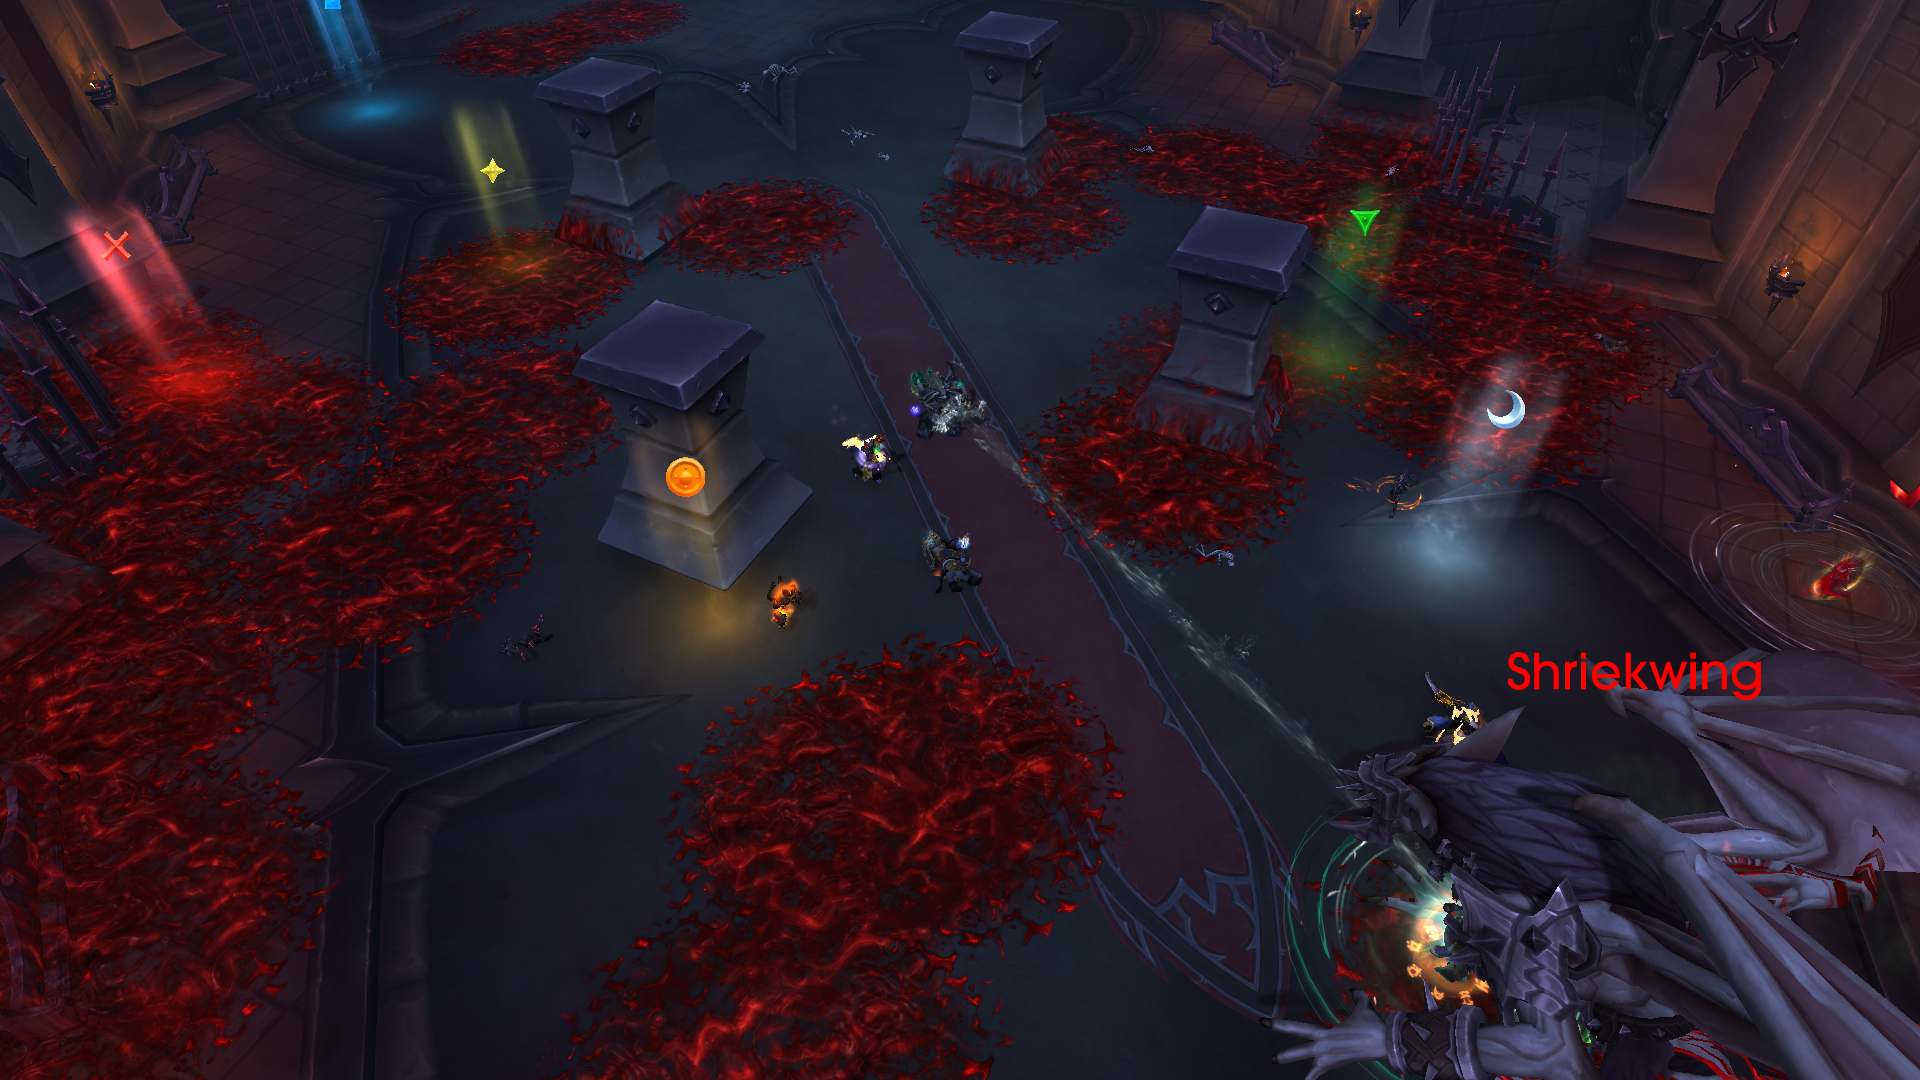
Shriekwing
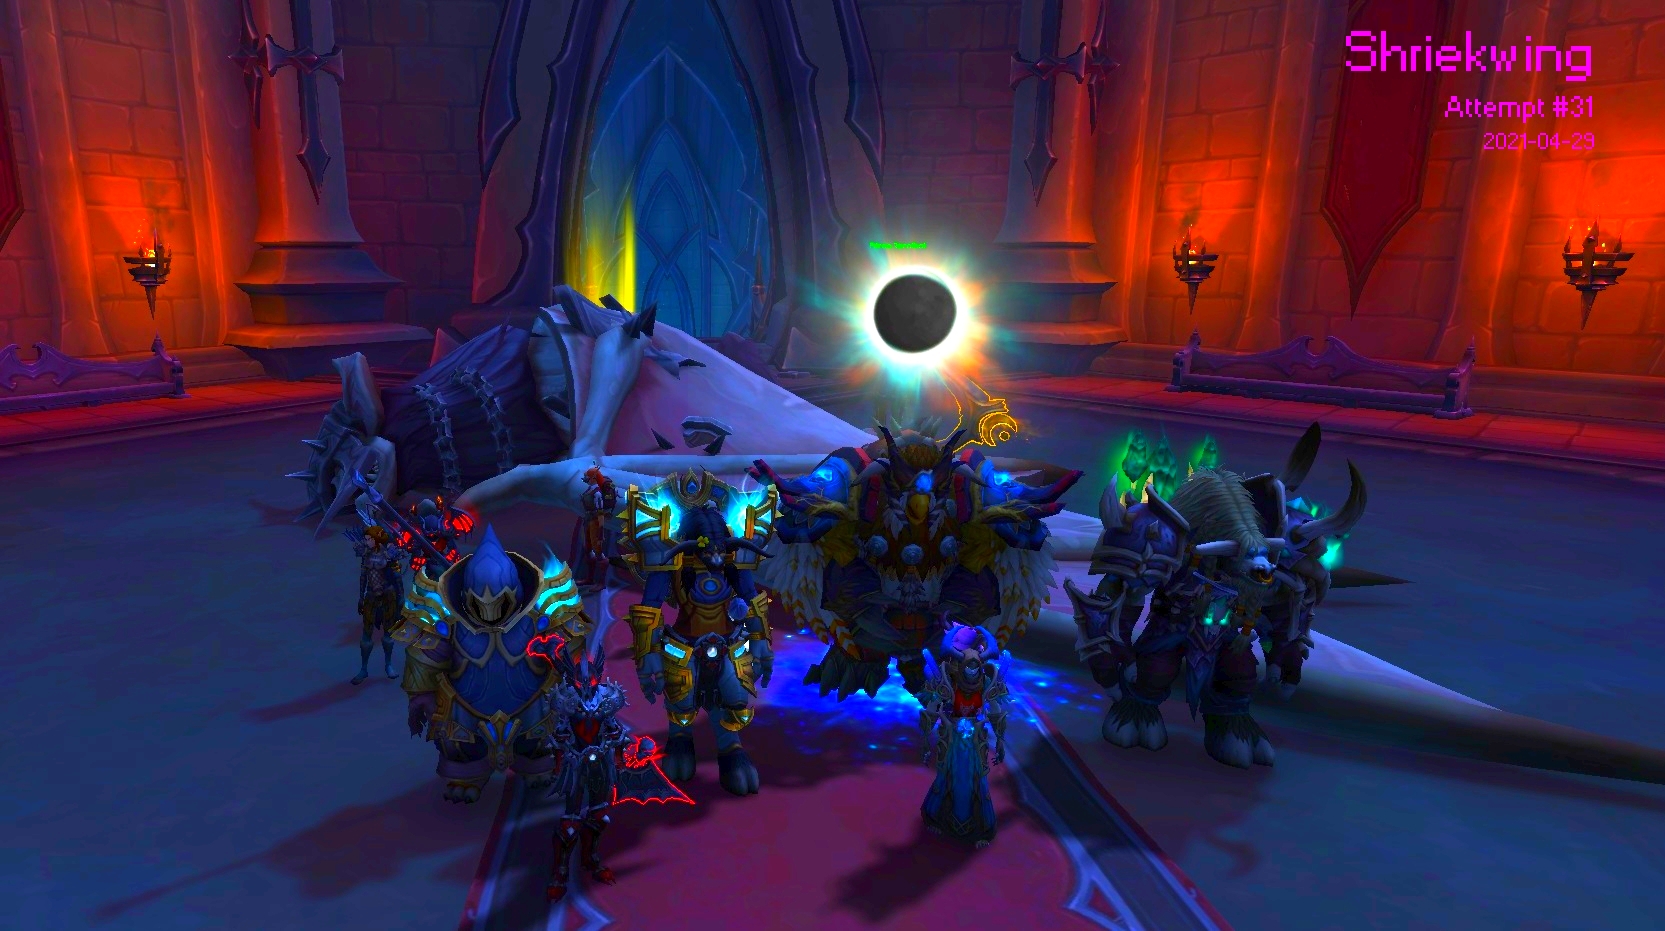
As documented, the big bat caused us a lot of trouble, but no-one will forget the moment he finally dropped.
Huntsman Altimor
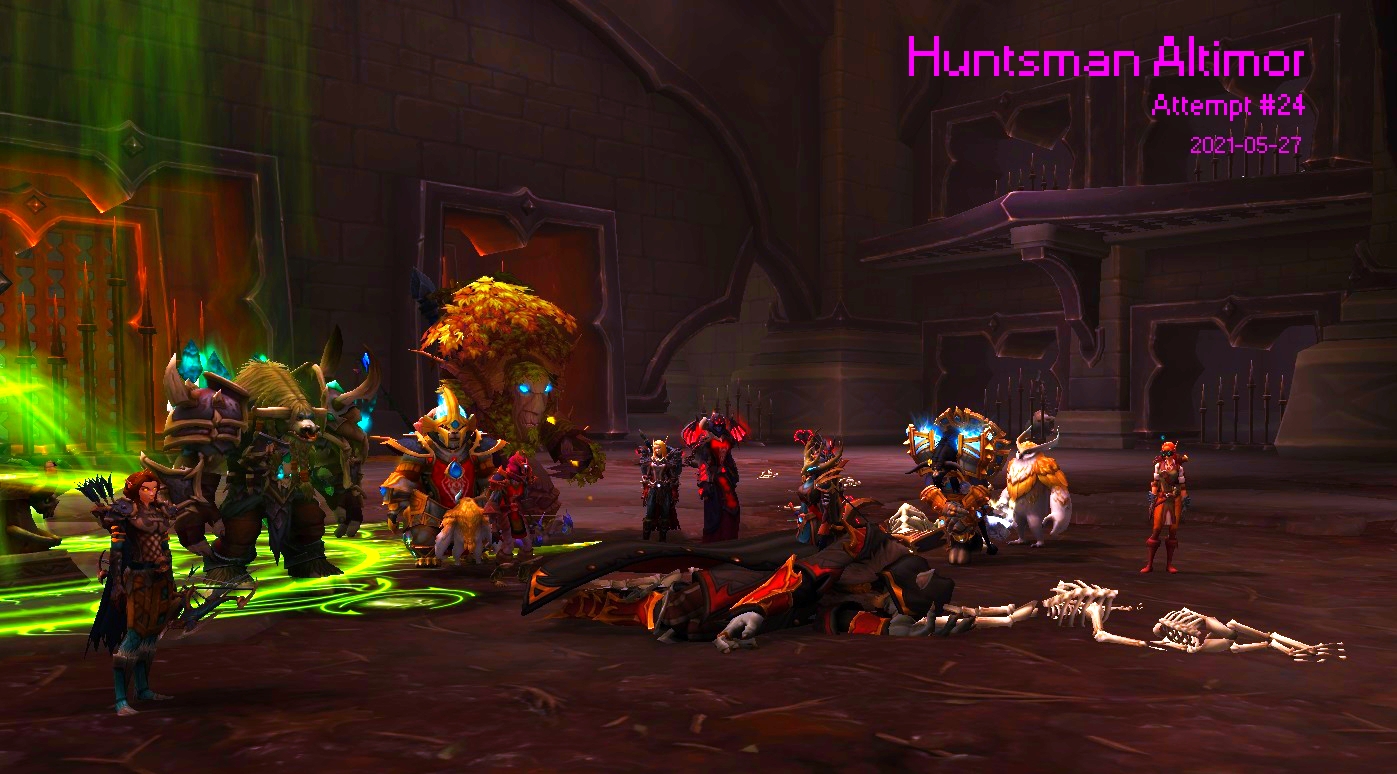
Huntsman was a great lesson in movement and awareness, and learning phase-by-phase by wiping a lot - eventually the first two puppies were rote, and when the third one was we finished Altimor off.
Hungering Destroyer
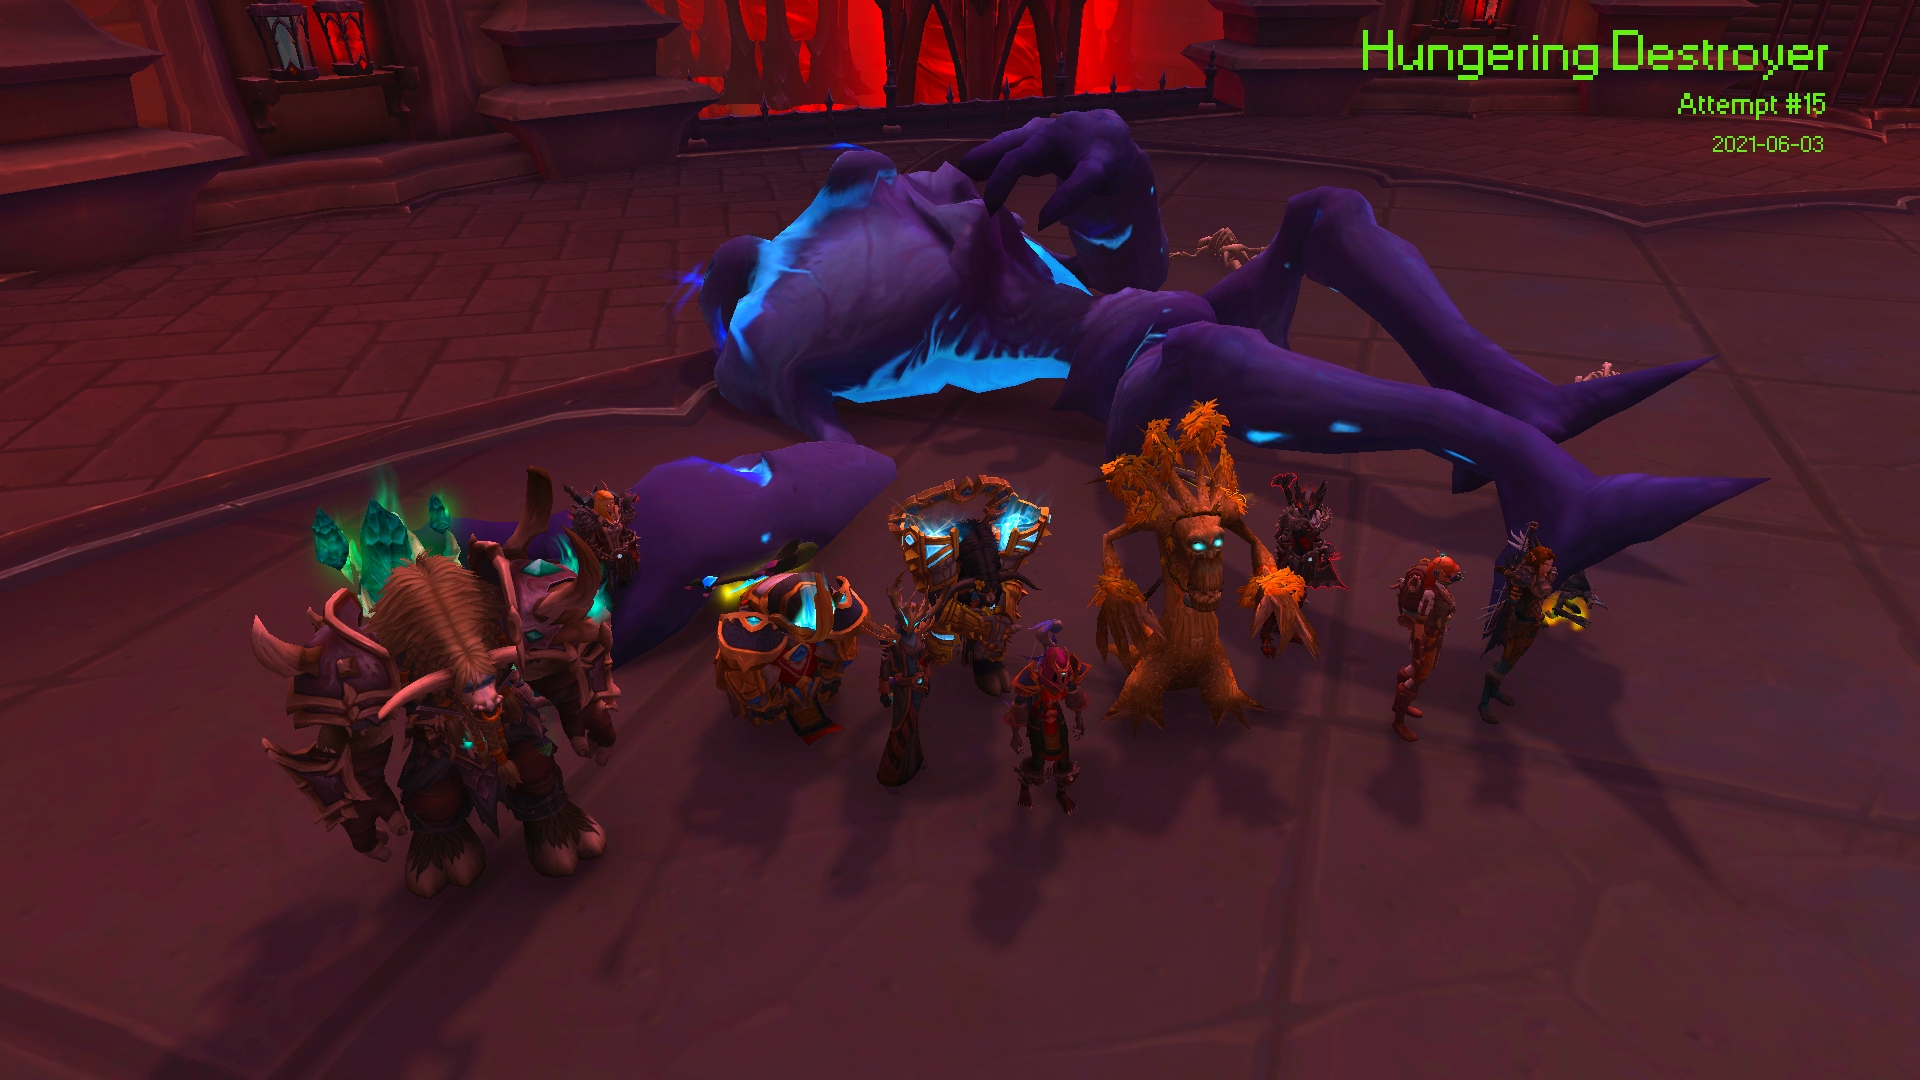
A fight where suddenly everything clicked after a lot of attempts got us nowhere.
Lady Inerva Darkvein
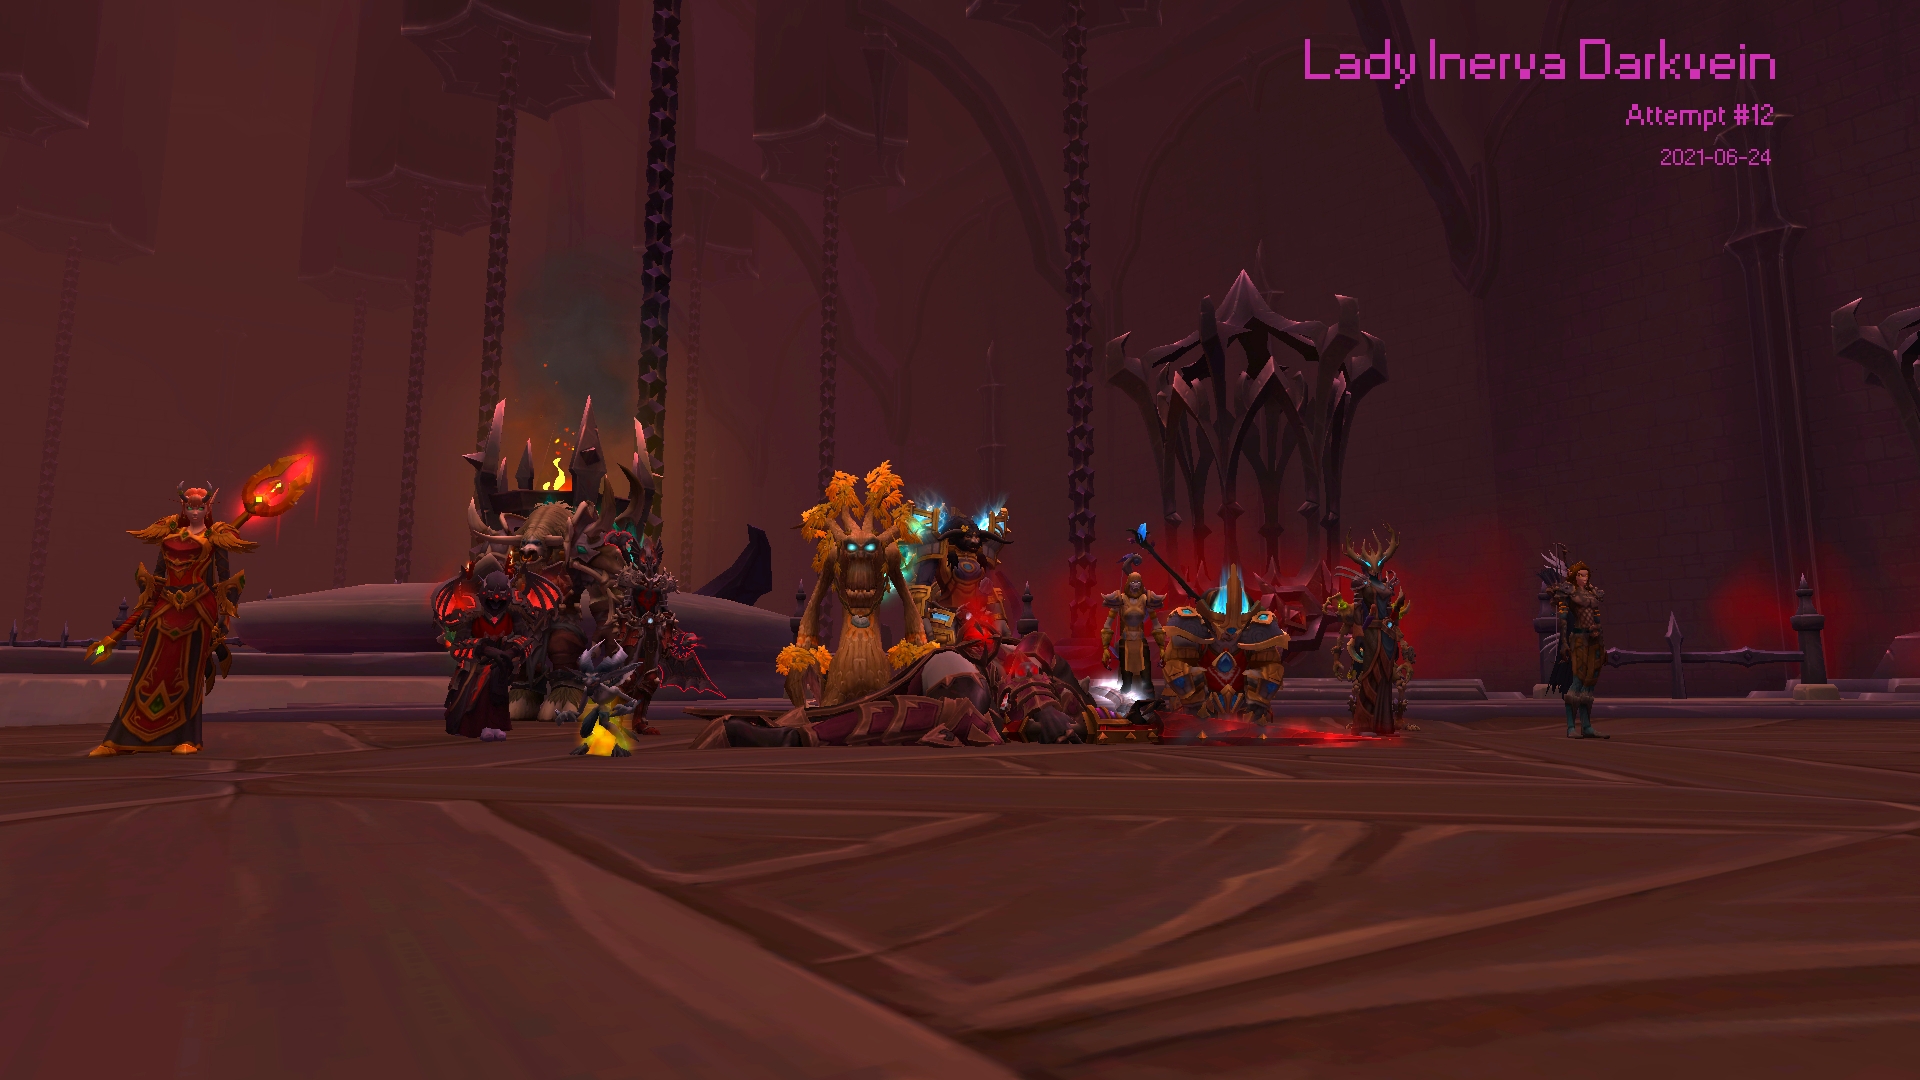
Like Huntsman, at first this seemed impossible - there was so much going on. Like many fights, total chaos until it wasn’t.
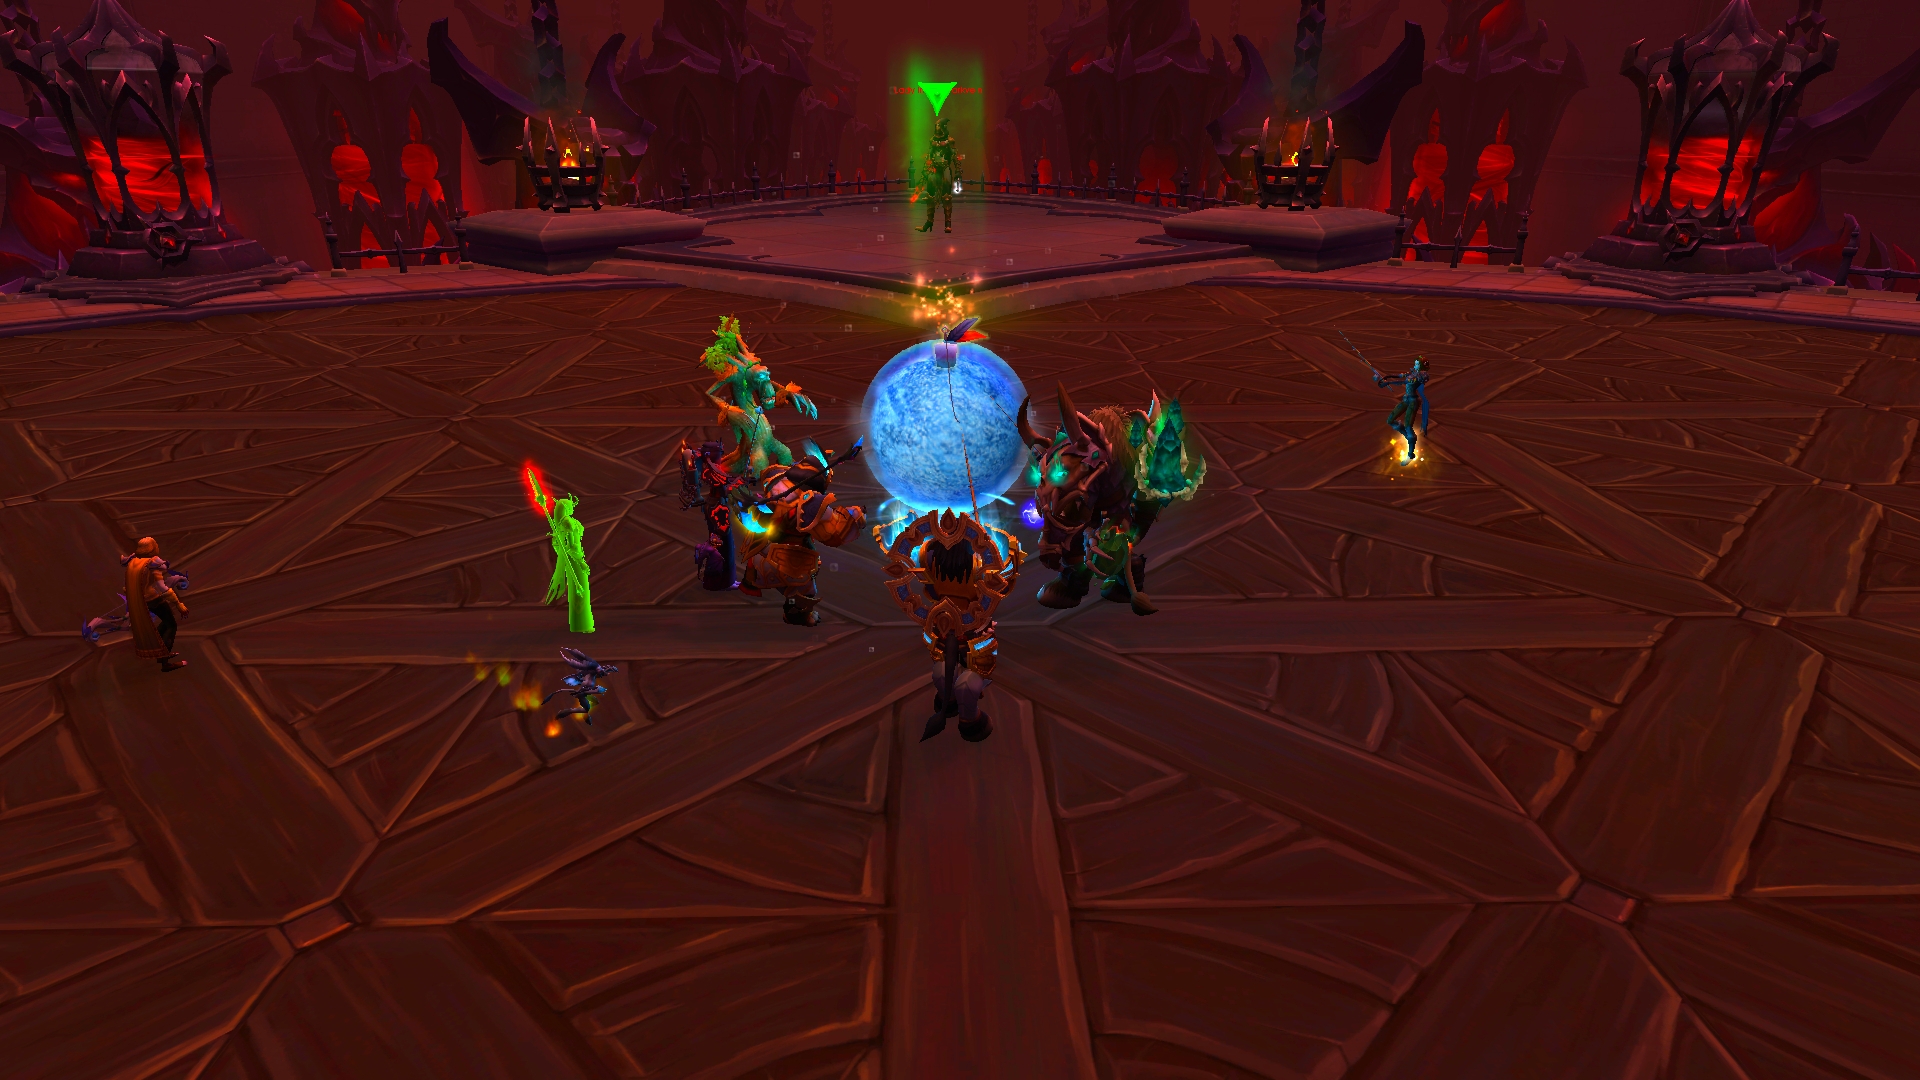
Sun King’s Salvation
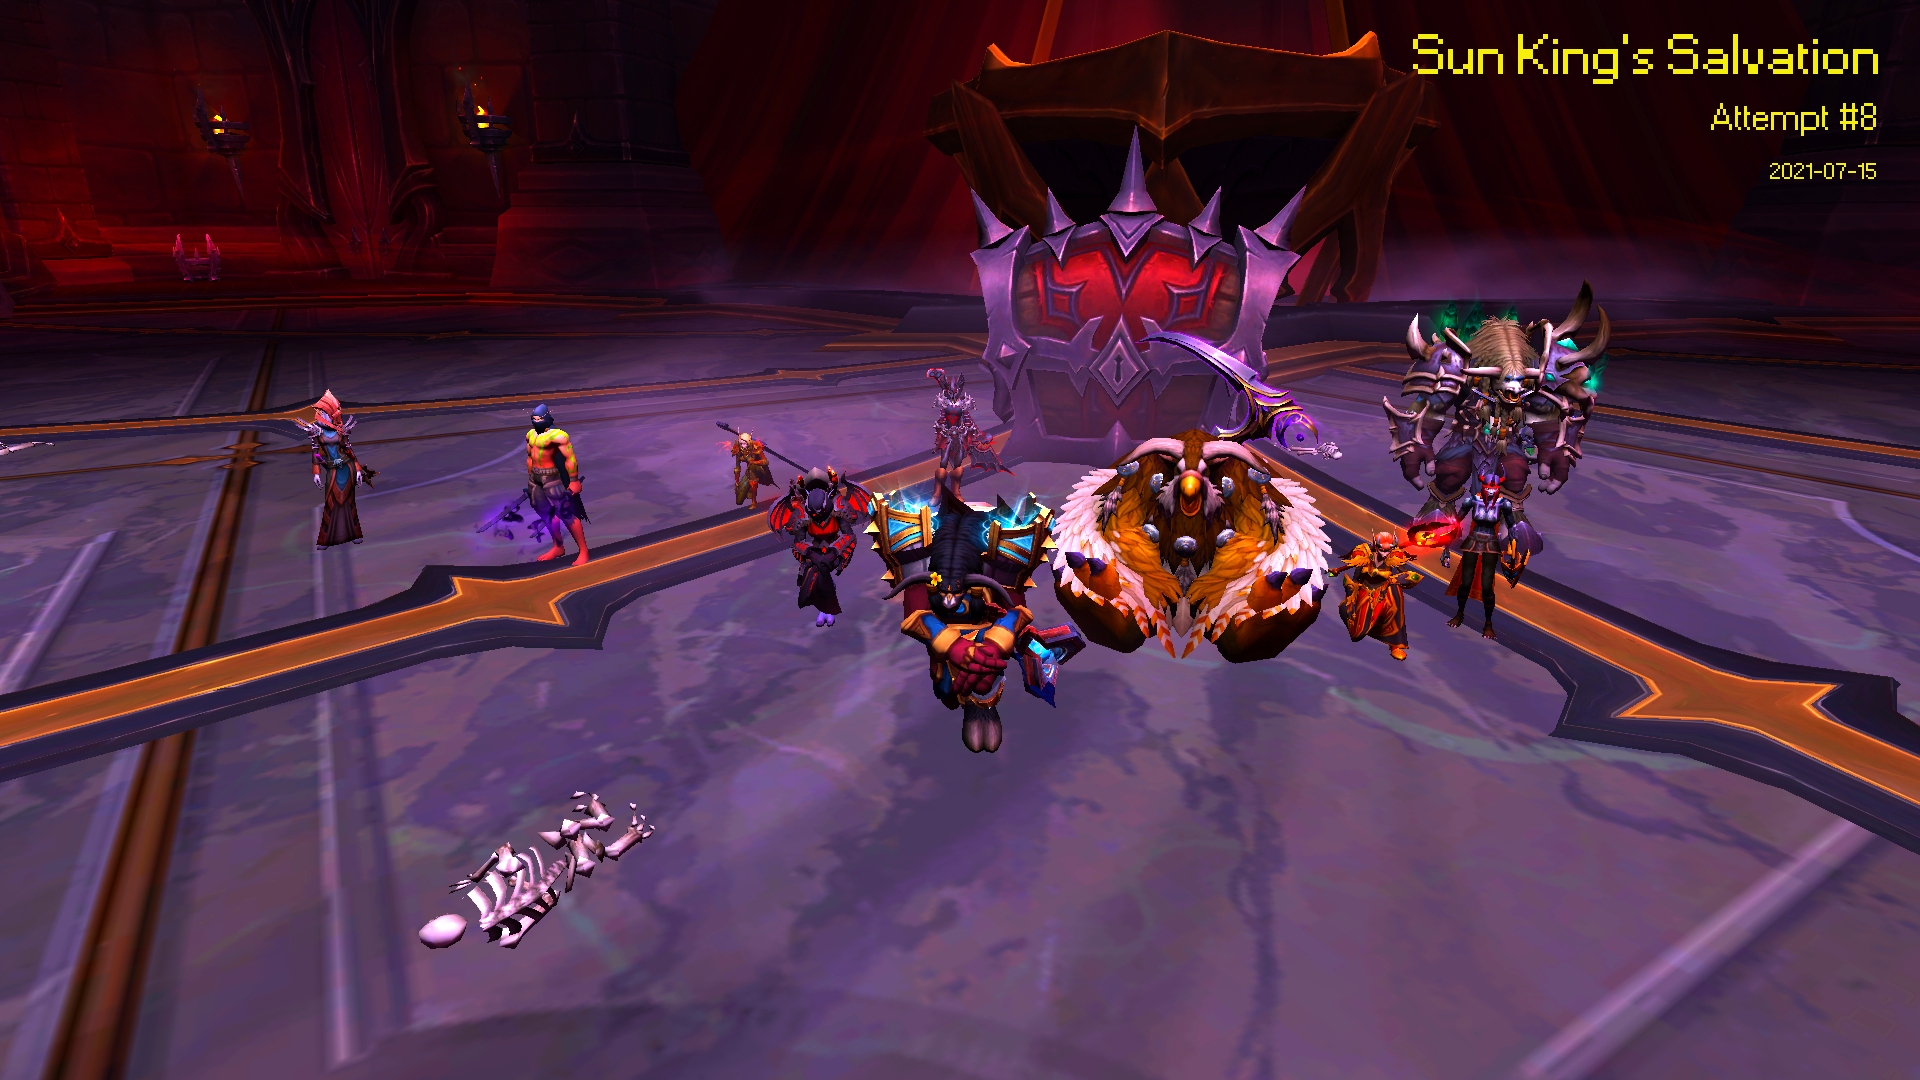
Chaos! Another where it felt out of control quickly, but we got it together and before we knew it it was over.
Artificer Xy’Mox
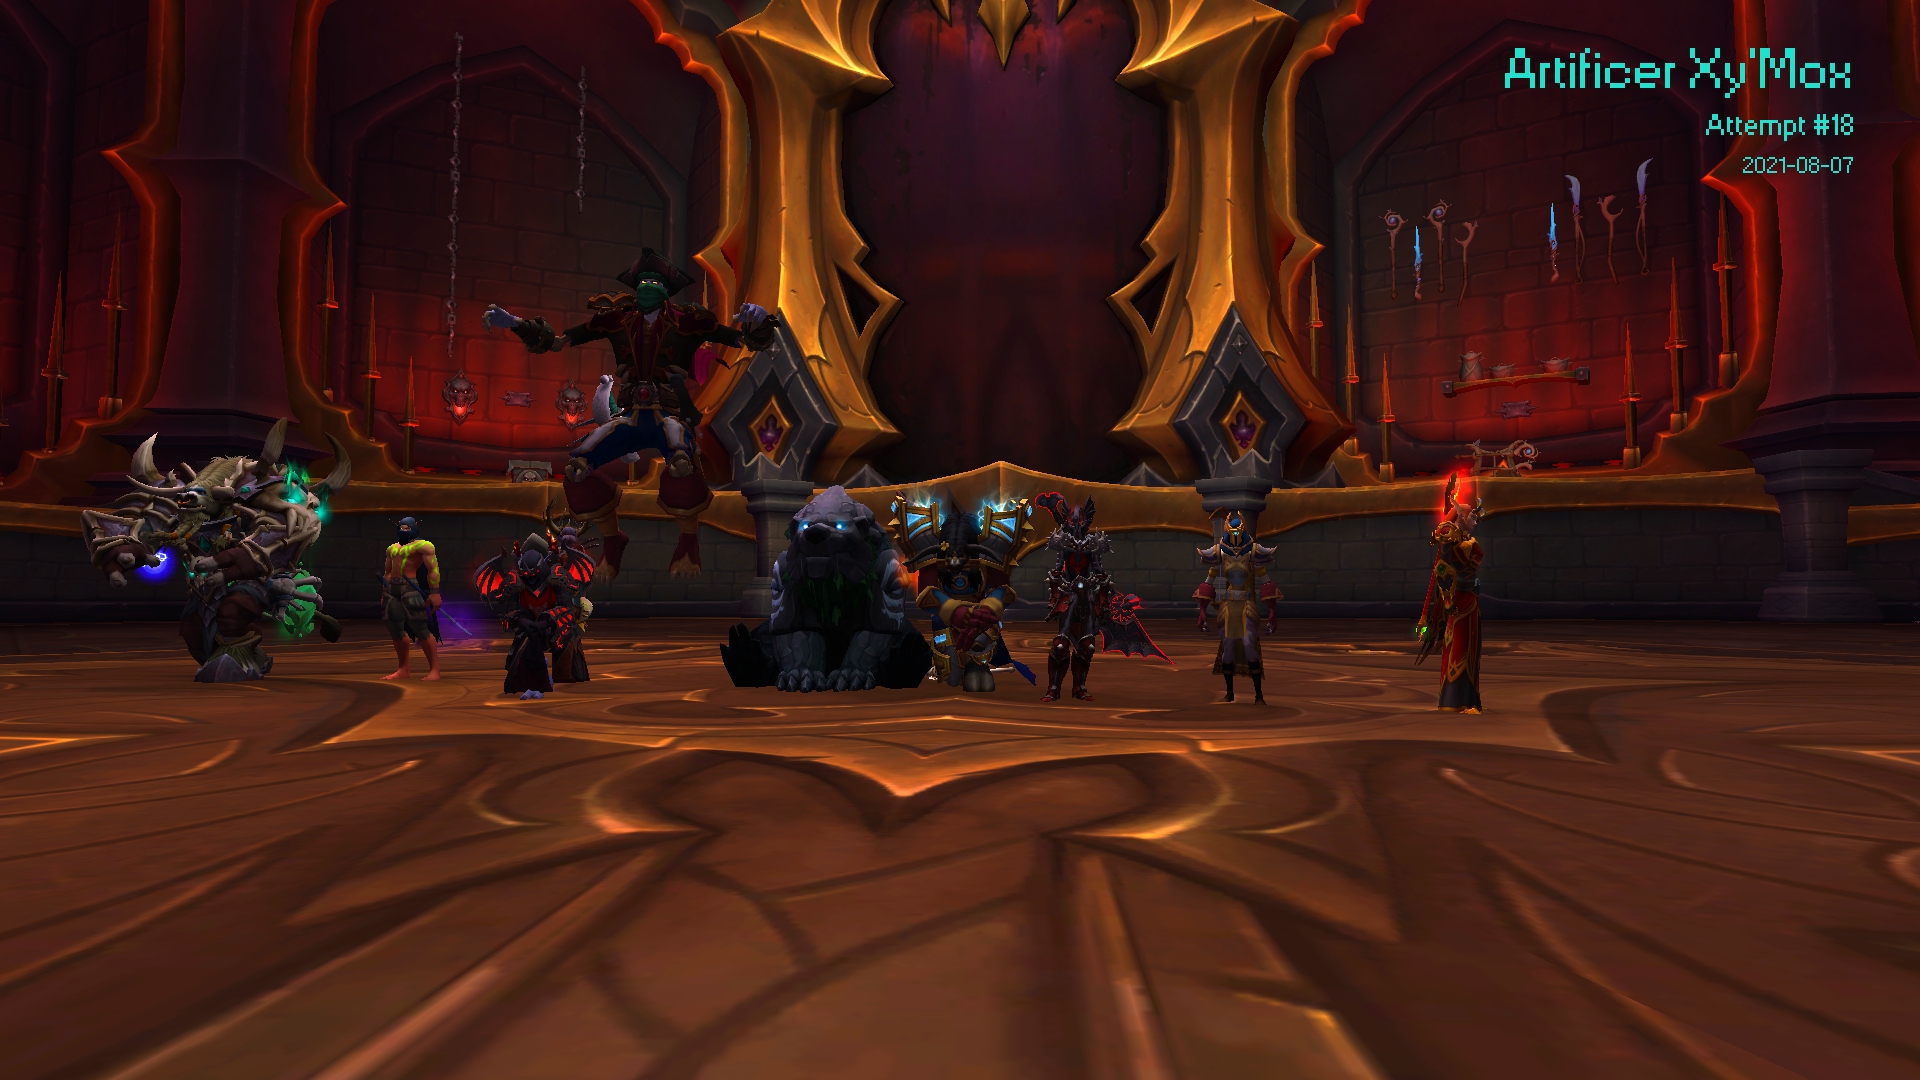
This was a fun one to learn, with portal-like bampfing and zones of mass destruction. I think we ended up with only two alive at the end when Xy’Mox fell.
Council of Blood
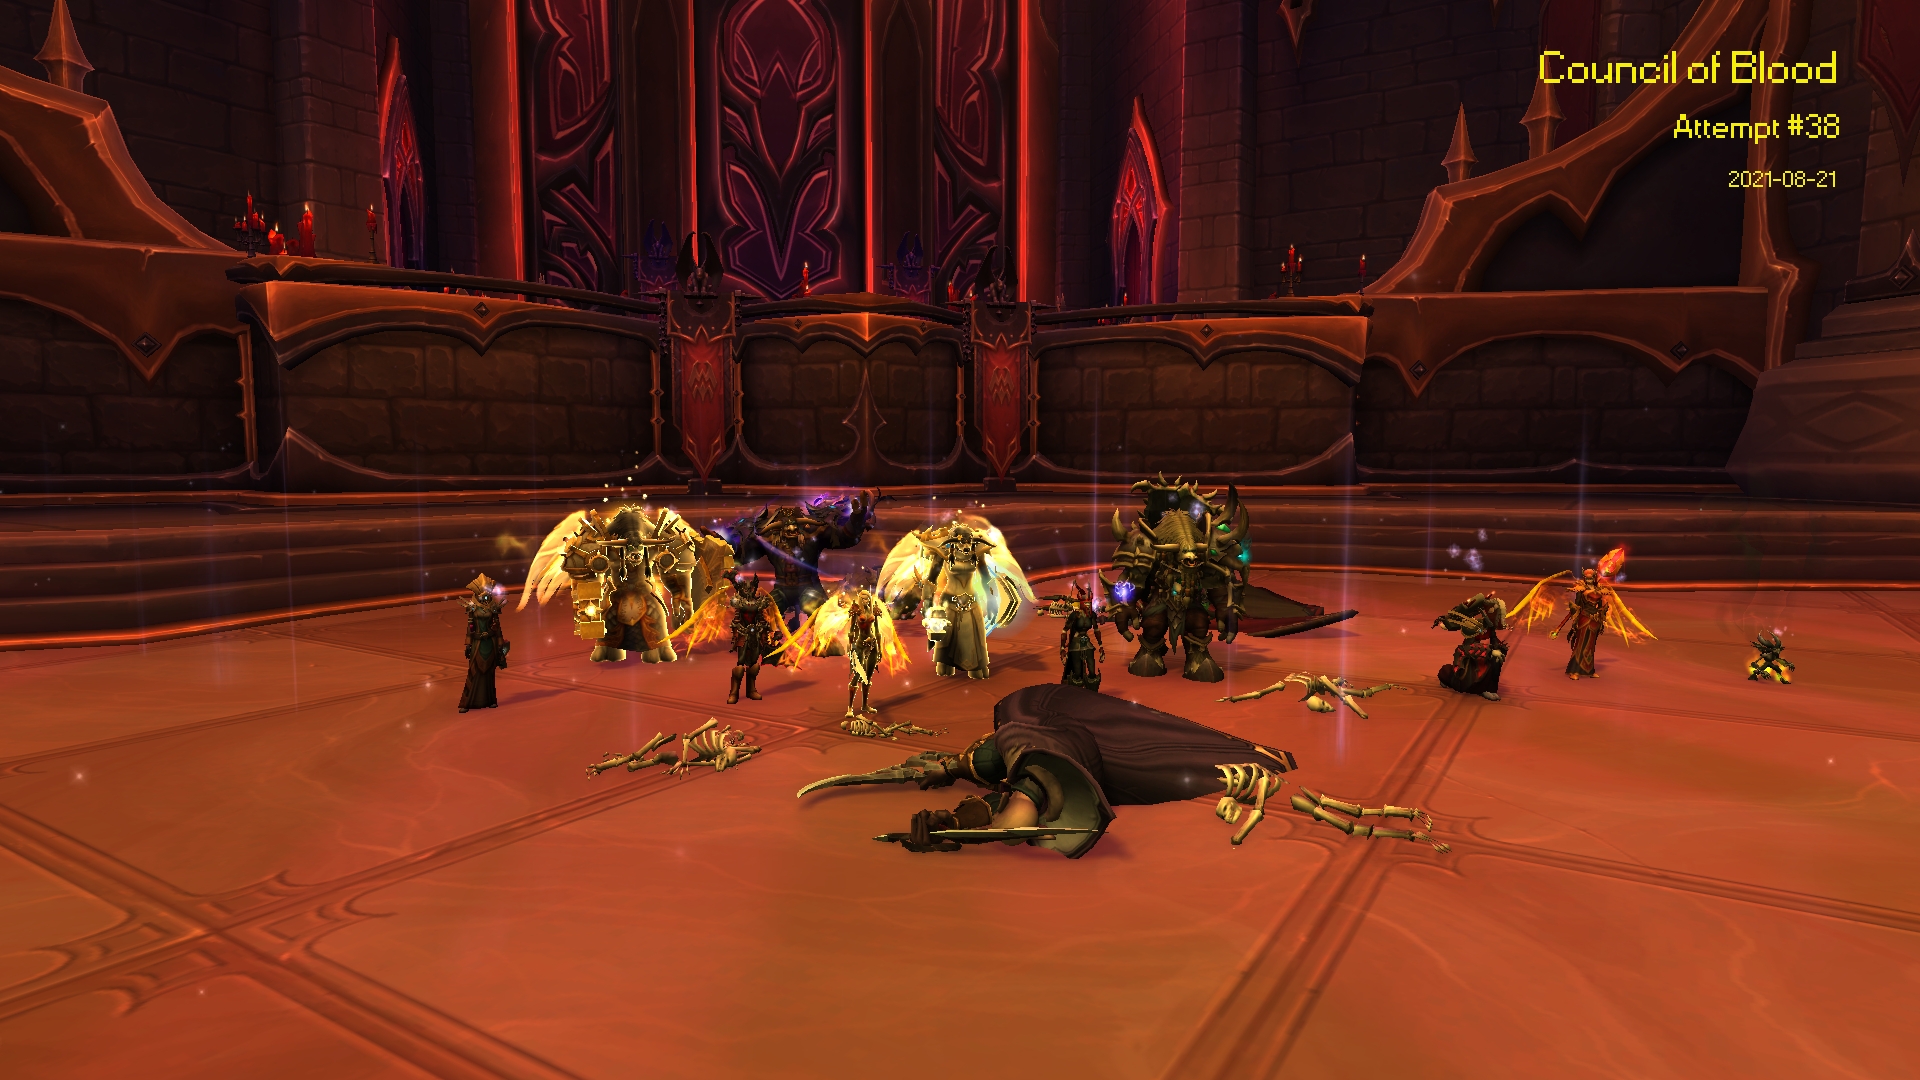
Ah, the Council. A real test - we struggled long and hard here. We followed the various guides to determine the order of bosses, but it just wasn’t working. So we swapped the order around, but still kept wiping. Eventually we went against all the advice and re-ordered things to suit our particular group, and they fell only two runs later. A great moment and great realisation that we could design our own strategies.
Sludgefist
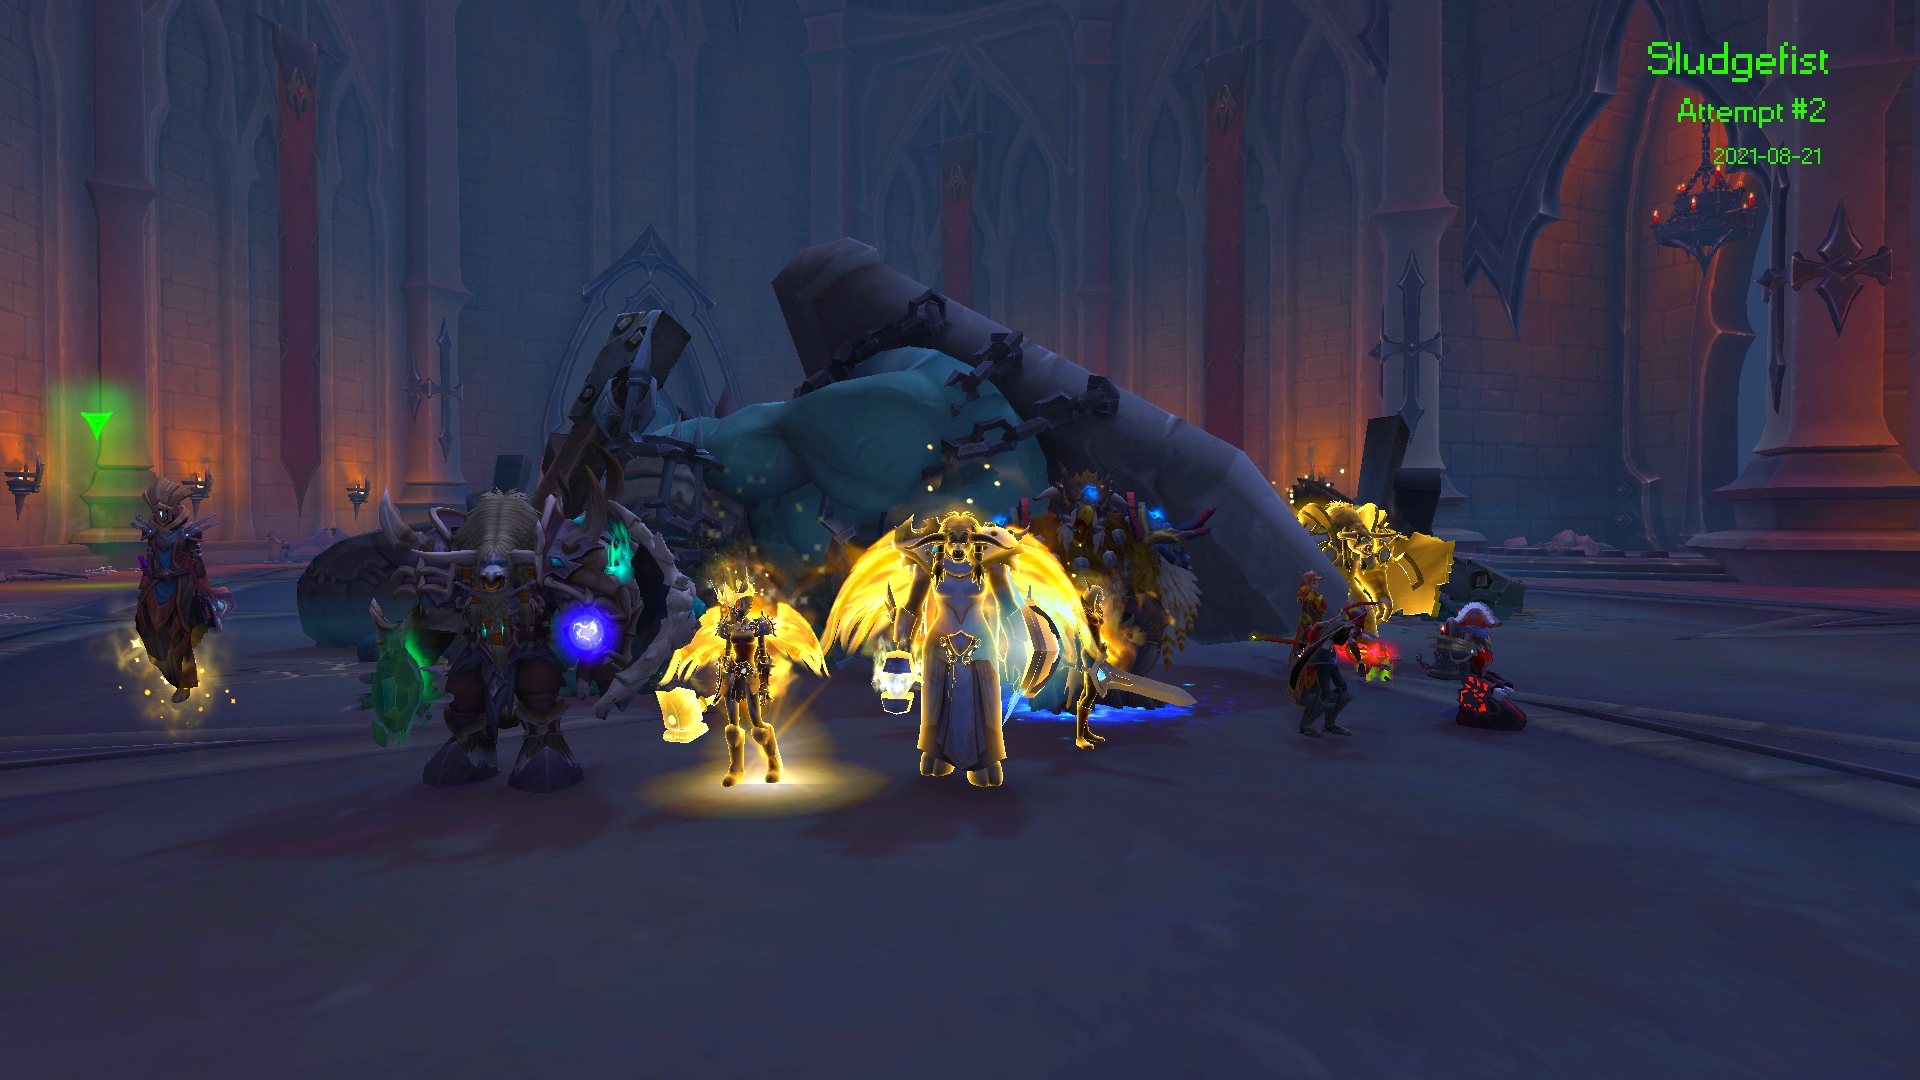
We were of course overgeared, but knocking Sludgefist off on our second attempt, having finally finished the Council, was a special moment.
Stone Legion Generals
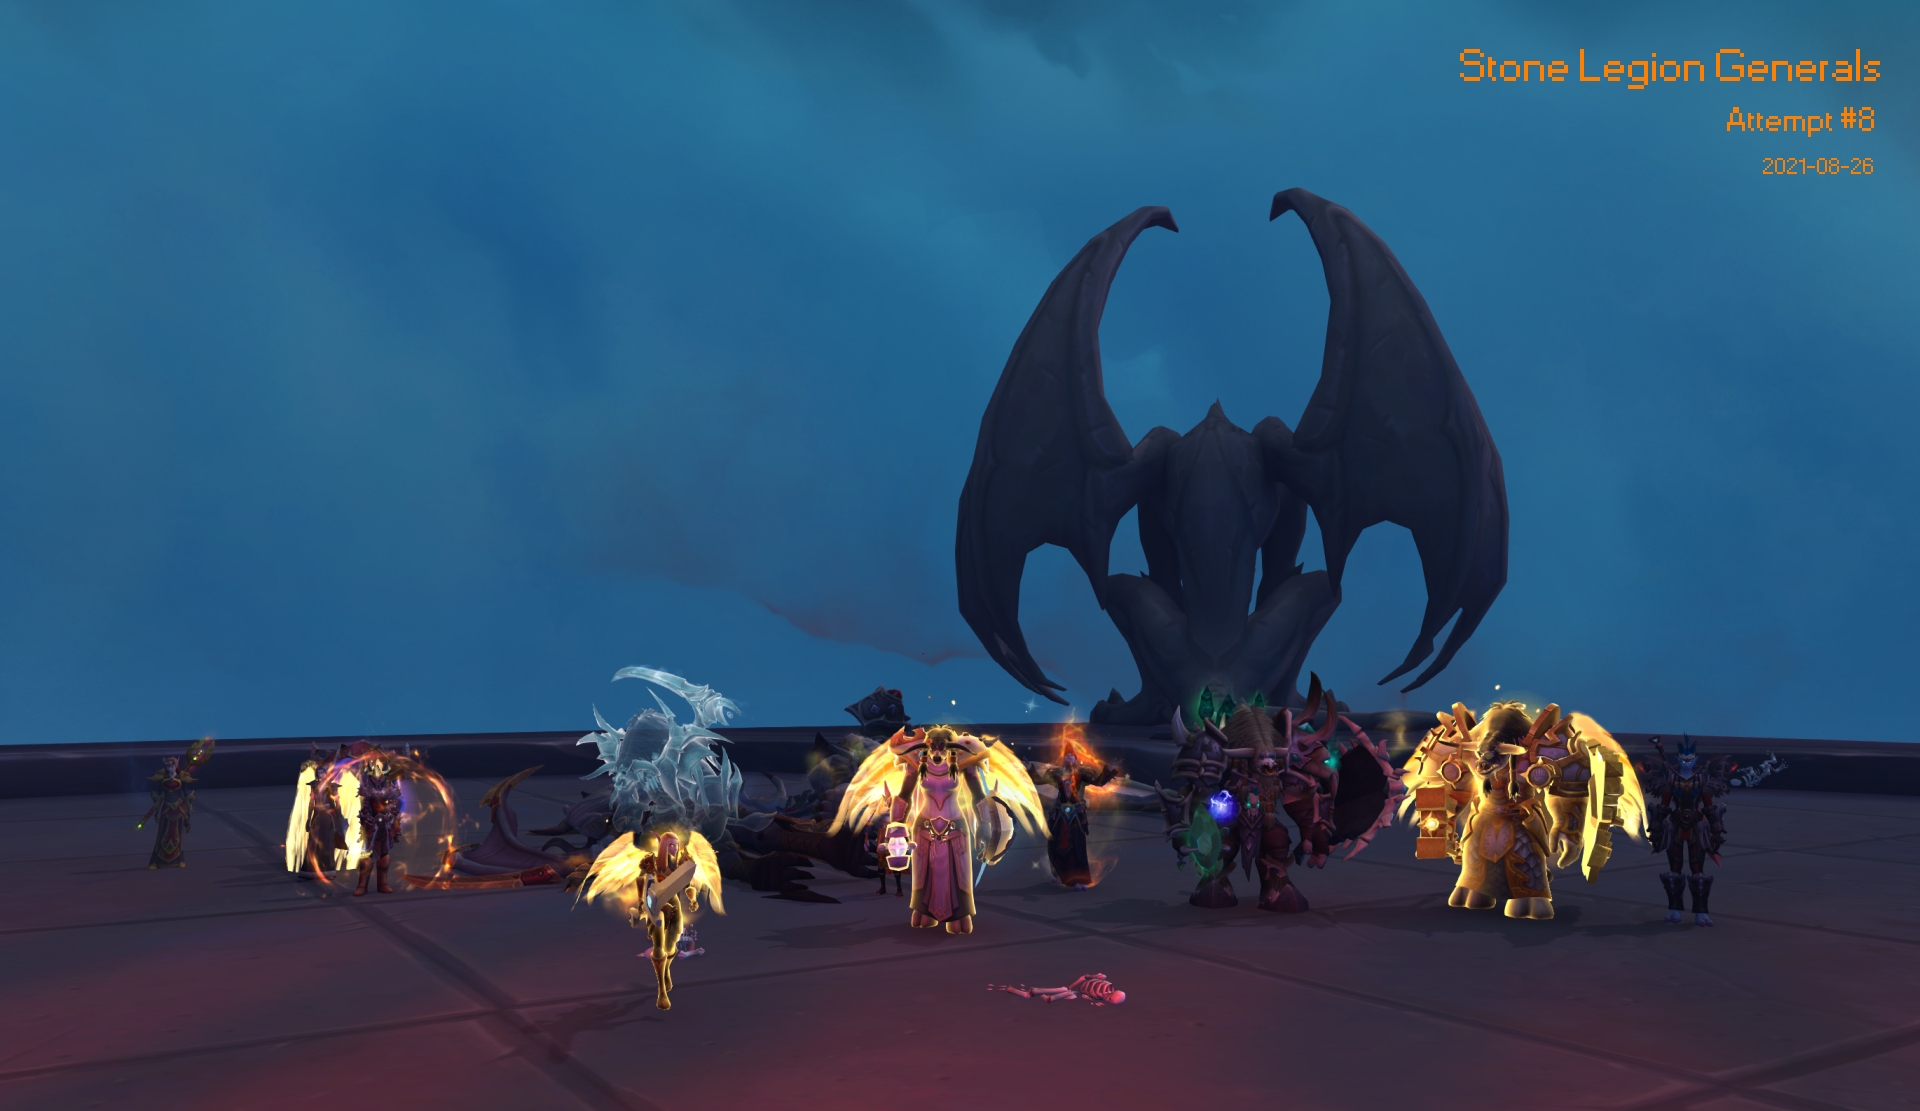
Now it was getting serious. The penultimate bosses, which only needed a few runs to learn the mechanics before they were finished.
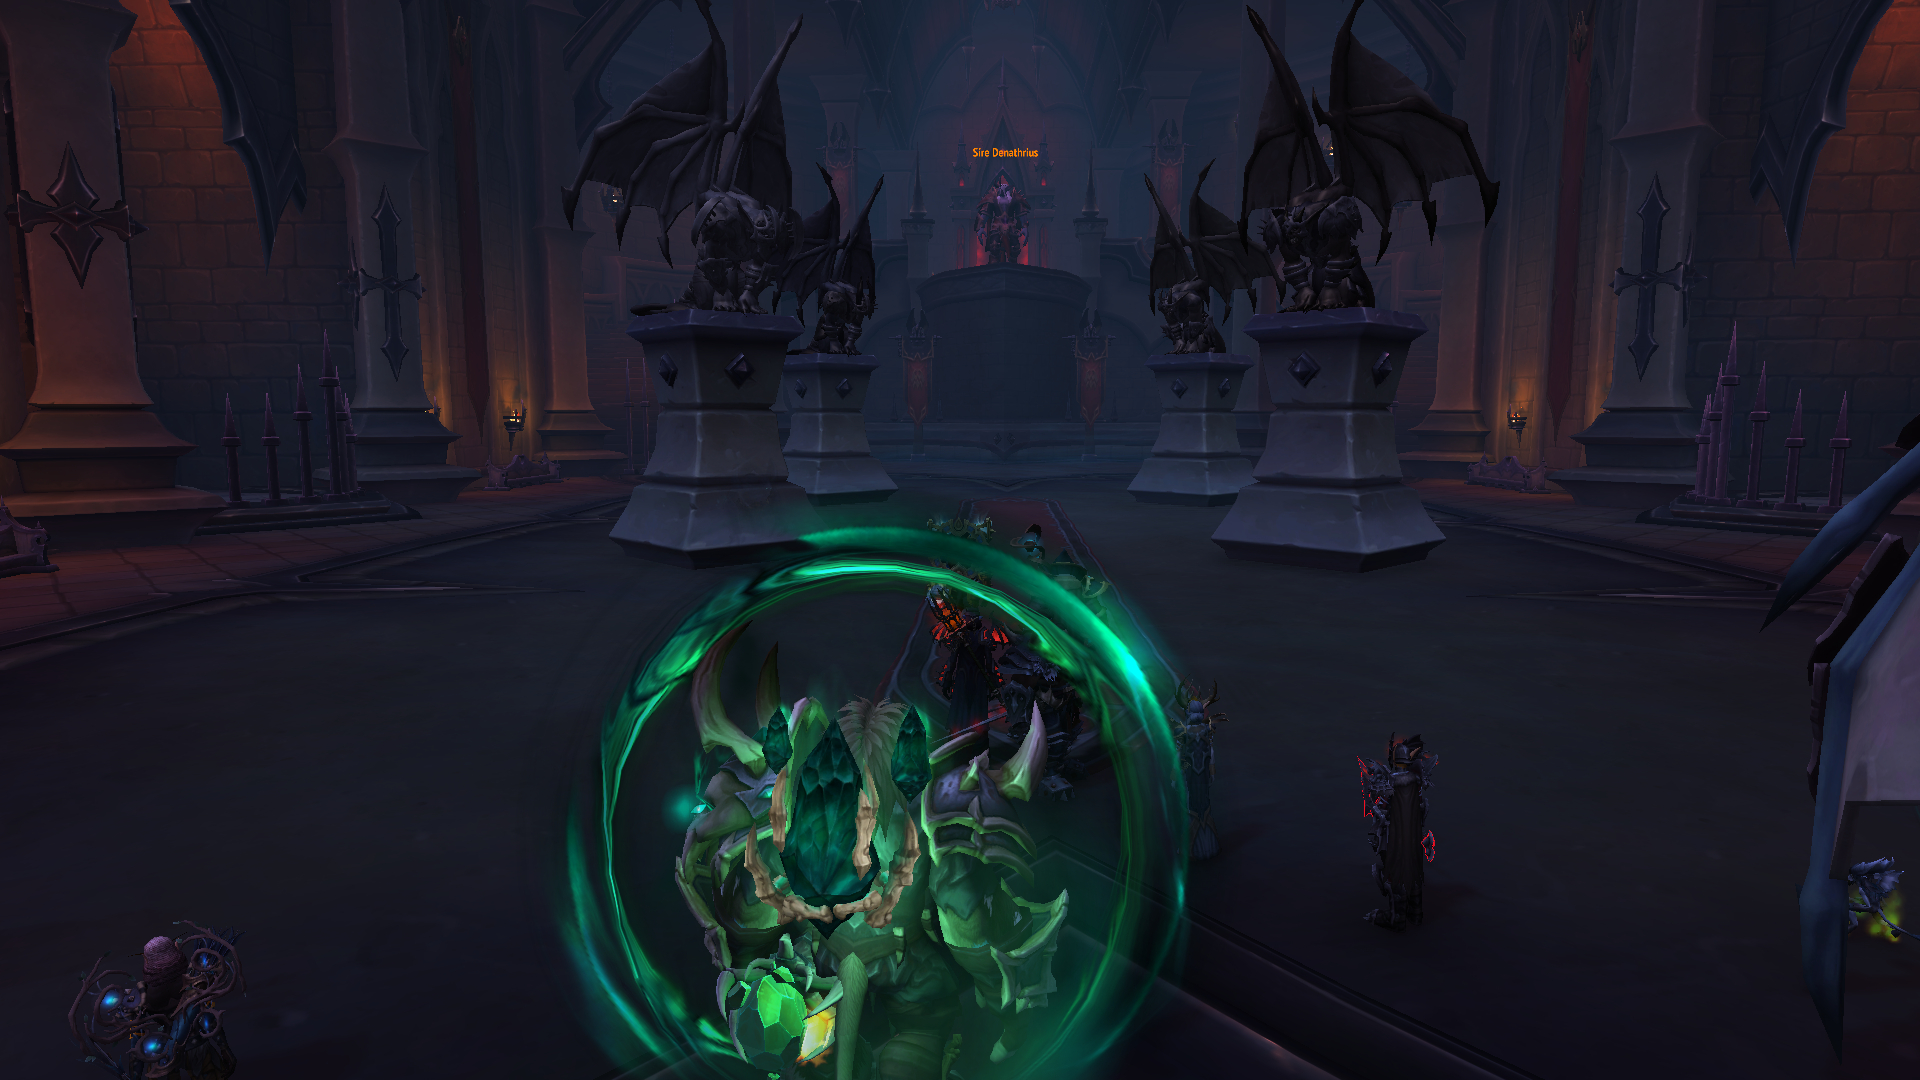
Sire Denathrius
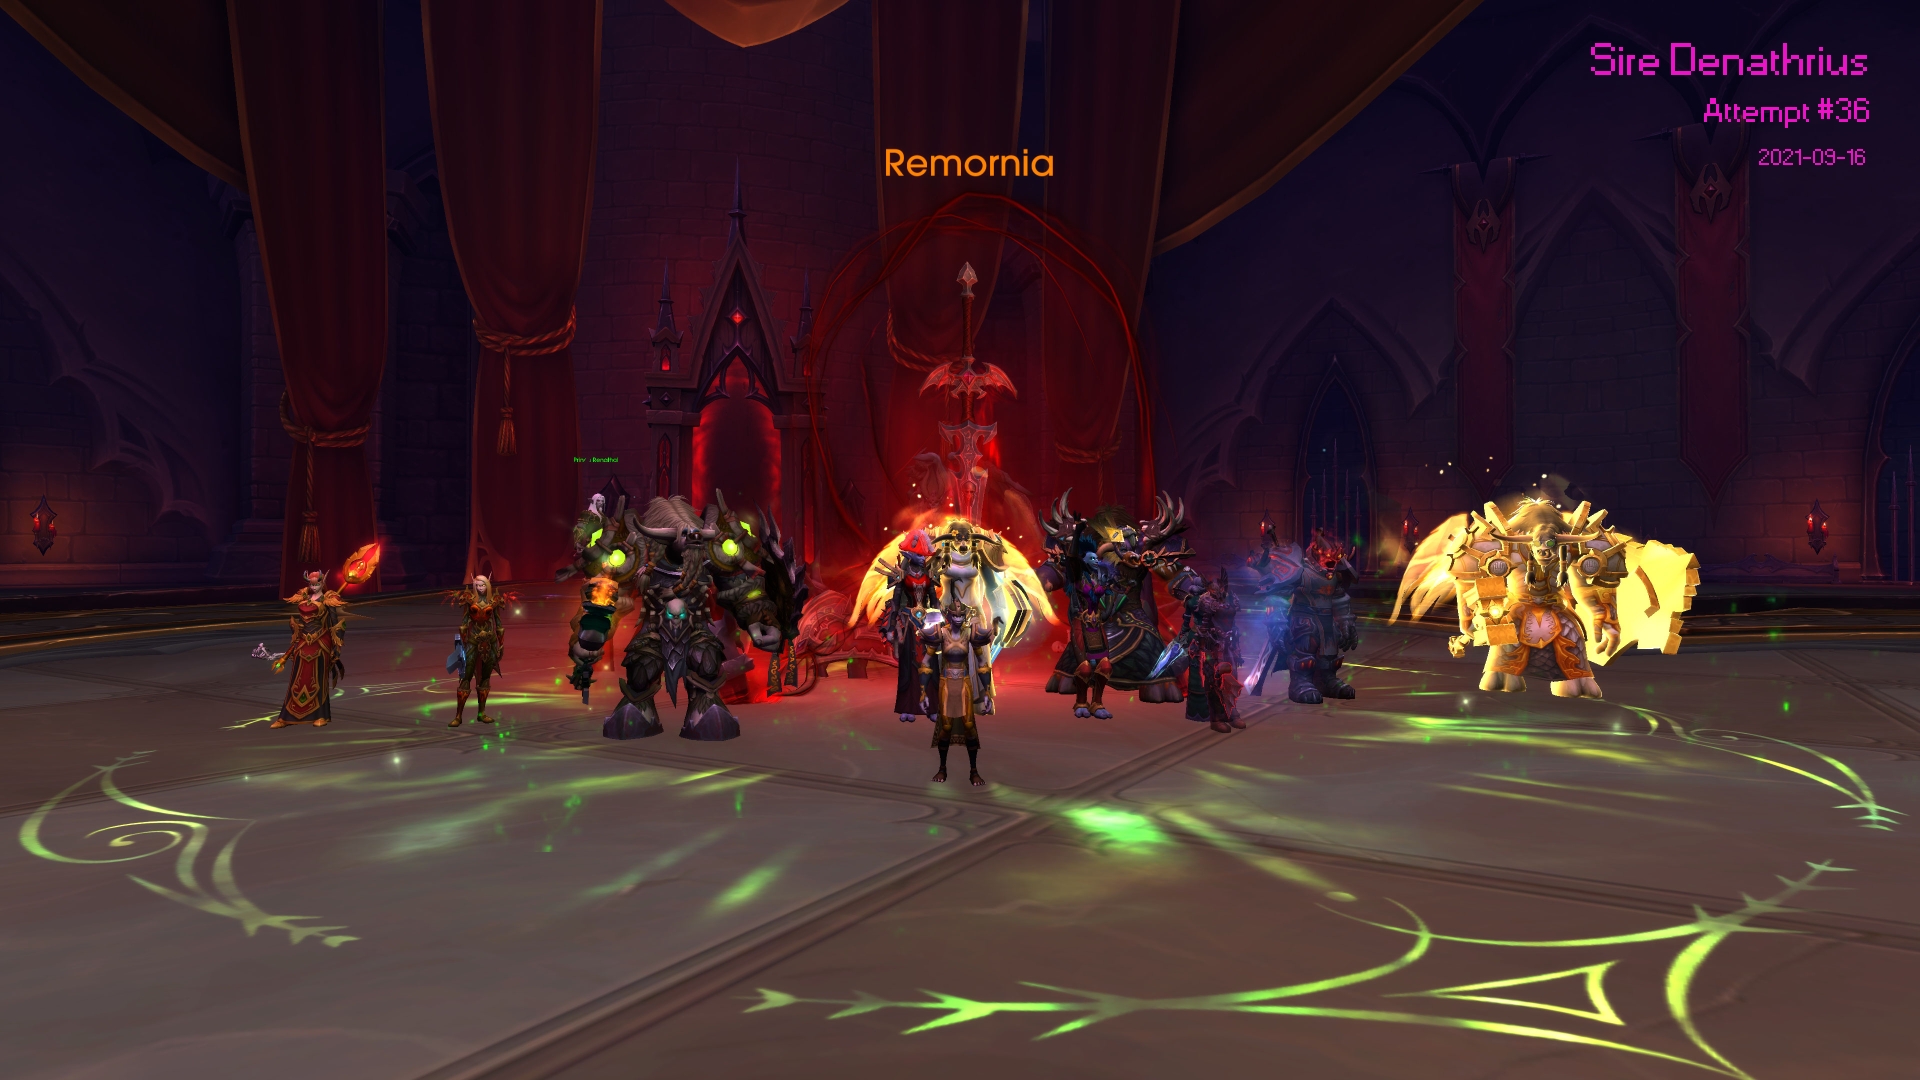
And finally, Denathrius. Three very different phases, plenty of concentration required, and a complex fight. The excitement and tension as he was getting lower and lower (and we were losing one player after another) was brilliant.
Bonus Fishing Boss
Thanks all!
Warcraft: Shriekwrung
Victory! Attempts: 31
We need to work on our pose mechanics next
Warcraft: Shrieks of terror
In recent weeks our small guild ventured into a few Mythic dungeons for the first time. We’d been rolling through Heroics without too much difficulty (other than the deadly platform bosses in Theatre of Pain), so decided we should try a Mythic or two to see where we stood ability-wise.
Somewhat to our surprise (or mine at least) we succeeded! We tried Sanguine Depths, and after triumphantly not dying to the first trash pack we cleaned up all the bosses. We even somehow fudged our way through the nightmare gauntlet corridor boss, despite me not realising I could pop the magic-shield to save us - even though our healer was continually saying ‘there’s something we’re missing here’. Oops.
After that victory we completed Tirna Scithe and Theatre of Pain, raising our confidence and the dawning possibility that we might be ready for raiding?!
We ran the numbers and worked out we had 7 confirmed raiders. At first we intended to pug the final three, but after some thinking managed to recruit three more friends and family to the team. The magic number was reached, and we ran our first ever raid.
Castle Nathria
So excite
I figured we should prepare for the first two bosses, Shriekwing and Huntsman, and researched them on Icy-Veins and Tanknotes. Our group is very much a learn-as-you-play team, but having some basic idea of what might happen is always a good idea.
Based on the guides, Shriekwing seemed doable once the mechanics were understood, whilst Huntsman looked super chaotic - three phases, many gotchas, and a lot going on. Fun! I felt vaguely confident we would get through Shriekwing, and have a few tries on Huntsman.
Spoiler: not even close.
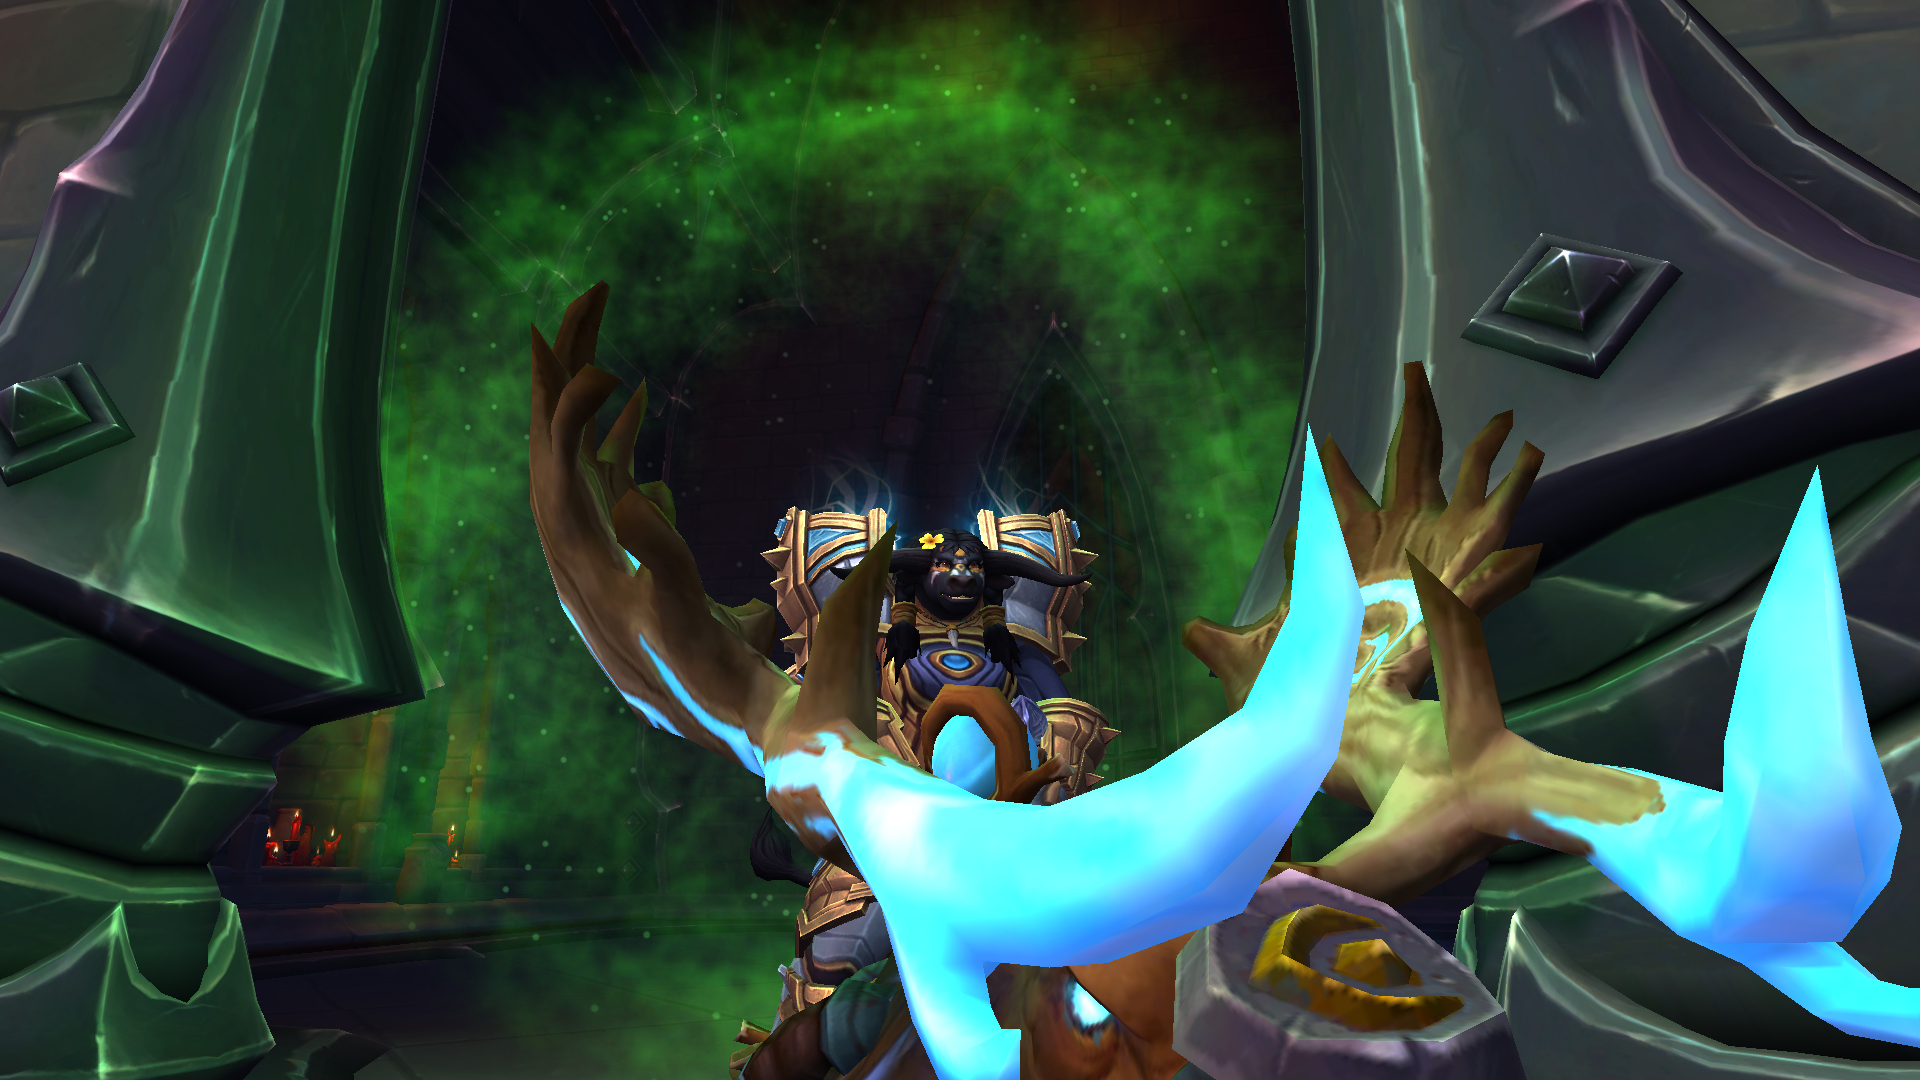
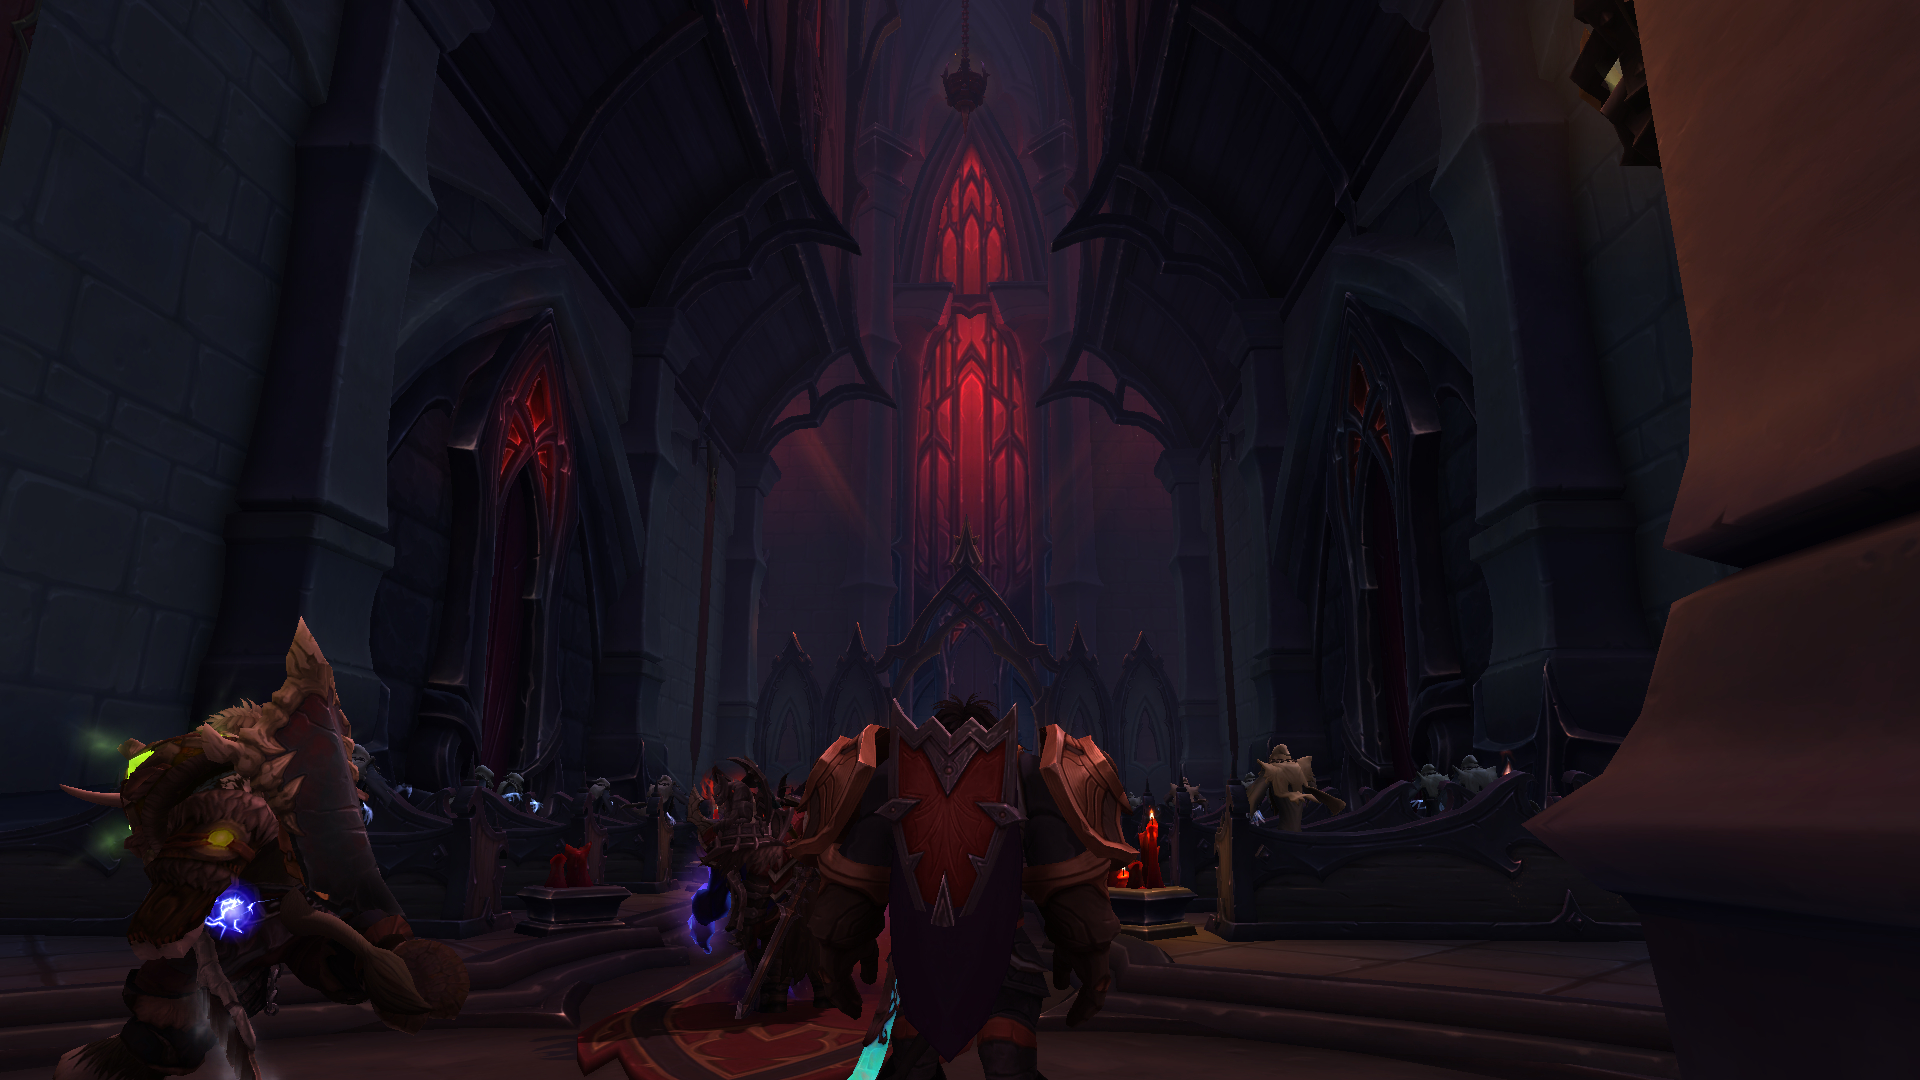
A warm welcome
We headed into Castle Nathria, nervous, and were pleased to find there was basically no trash before Shriekwing. One great thing was that because we were in a guild group, we all watched the mini cinematics rather than rushing past. It was fantastic seeing and hearing Sire Denathrius welcome us to his playhouse, and introduce us to his first pet.
Shriekwing is basically a movement and cooldown test. In Phase 1, Tanks have to keep the boss fairly immobile, DPS have to avoid his line-of-sight casts, Healers have to keep the tanks alive through a 100% heal debuff, and everyone has to drop blood pools away from the raid. In Phase 2 everyone has to run around dodging bad stuff whilst still avoiding the LOS casts. And Heals have to keep everyone alive whilst still doing all that.

Never raid on an empty stomach
It sounds and looks simple enough when you read and watch the guides, but holy cow is it more complicated when you’re trying to actually do it. There are so many things to keep track of, and it’s easy to lose sight of what is happening next. Especially because we were all instantly panicking for the first few pulls.
We slowly started to settle down and focus, but we were somewhat under-geared, and under-ripe. I made a lot of tanking mistakes, not least watching the wrong timers for the tank taunt swap, which meant we kept dying too easily and too early.
Our best pull got the big bat down to 60%. We only made it to Phase 2 once with everyone alive, and it kept falling apart after that because one tank or the other would go down.
After twelve pulls we called it a night. Huntsman would have to wait.
A familiar sight
Despite not getting past the first boss, it was great. Even improving by 2% per pull made us realise we were (very slowly) progressing. We had four members who had never raided, and five more that hadn’t raided beyond LFR for many years. And half of us had gear well lower than recommended.
For next week everyone will be more prepared, and better geared. And if we get to 50% we’ll be happy.
One of our first-timers even reported he woke three times overnight in WoW raiding dreams. Perfect.
Postscript
I wrote this a week ago and forgot to post it. Last night we went in for our second try, and it was much more successful, though we still didn’t get past Shriekwing. But we did indeed pass 50% (47%!), and we consistently got through Phase 1 with everyone alive and healthy. Unfortunately the bouncing rings of blood kept overwhelming us in Phase 2.
It was encouraging and fascinating how we did end up learning Phase 1 well enough that it became semi-automatic, which means Phase 2 should follow next week. It was a good demonstration how there is nothing better than doing to learn - week one gave us the information we needed to succeed in week two.
And given we improved, I think we can now say we’re progression raiders ;-)
Warcraft: On the cutting edge
Well, maybe not ‘cutting’. But for the first time since WotLK, I am pretty much current with an expansion.
My Protection Paladin main is Covenant maxed, has a nice legendary helmet from Torghast, and our dungeon group has completed all the (normal!) Dungeons. We’re training up a second tank, so theoretically we could start a tentative push into Castle Nathria. We’re well behind most, but for our motley crew of five-to-seven regulars this is quite an achievement, and we’re happily puttering along.
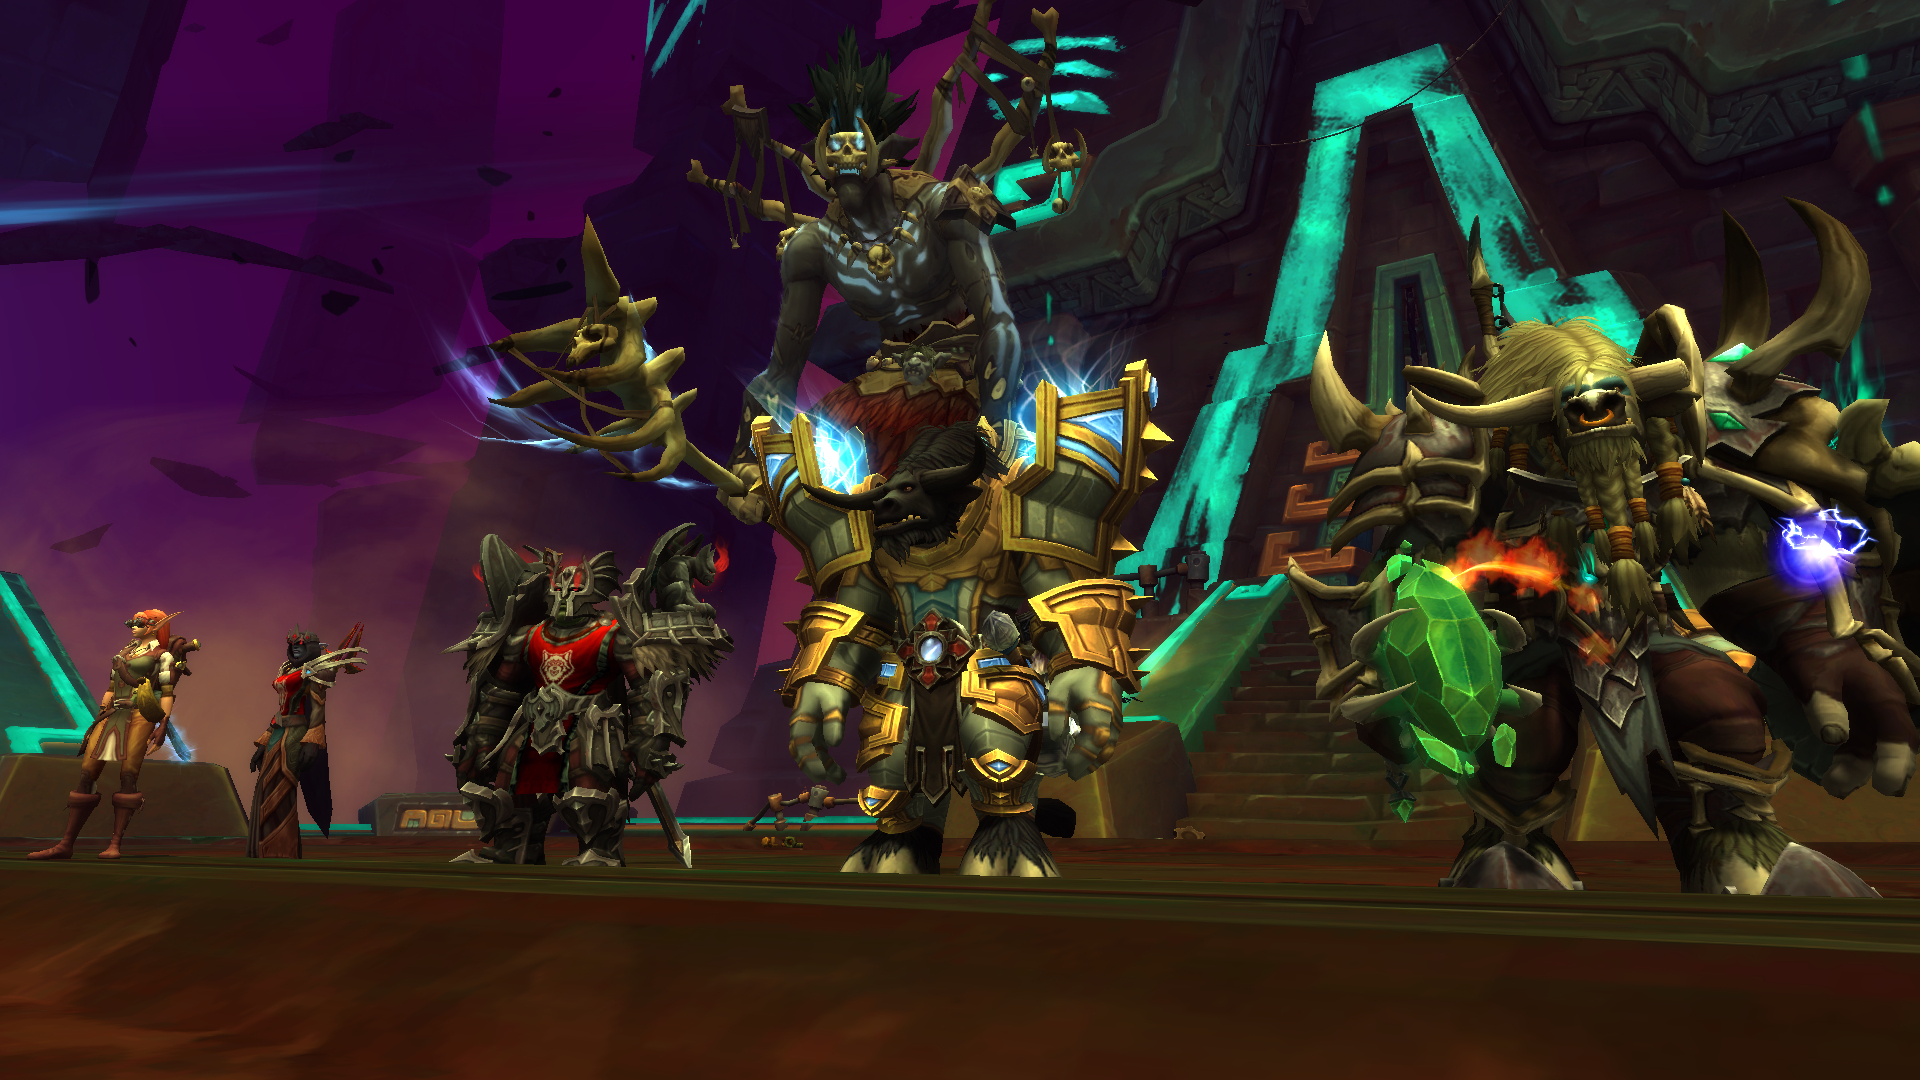
Bwonsamdi has our back
The Covenant system has been a fun way to have a loyalty to something other than Horde/Alliance or race - our dungeon runs are full of faux-outrage at each other’s picks and how wrong they are. Uptight Kyrian (my choice!) vs Chaos Necrolords, with the Venthyr watching on from the sidelines whilst sipping their tea. The Night Fae miss out, but I’m sure someone will level one just to be able to poke fun at the rest of us.
The Revendreth story was easily the best for me, with Maldraxxus a close second (the arena opening was superb). Ardenweald lacked personality and was only saved right at the end by a good lore-heavy story, and Bastion was just plain dull - as everyone has said, a real misstep as the first zone after the strong Maw opening (as was the sudden slow down in Oribos).
Castle Revendrethloft
I chose Revendreth as my faction at first, but couldn’t stick with it as a Prot Pally. It felt wrong for RP reasons, so I switched to team shiny, which I haven’t regretted. They are ridiculously po-faced, but the armour looks nice and the zone is a peaceful oasis compared to the rest - it feels like a balm returning home there.
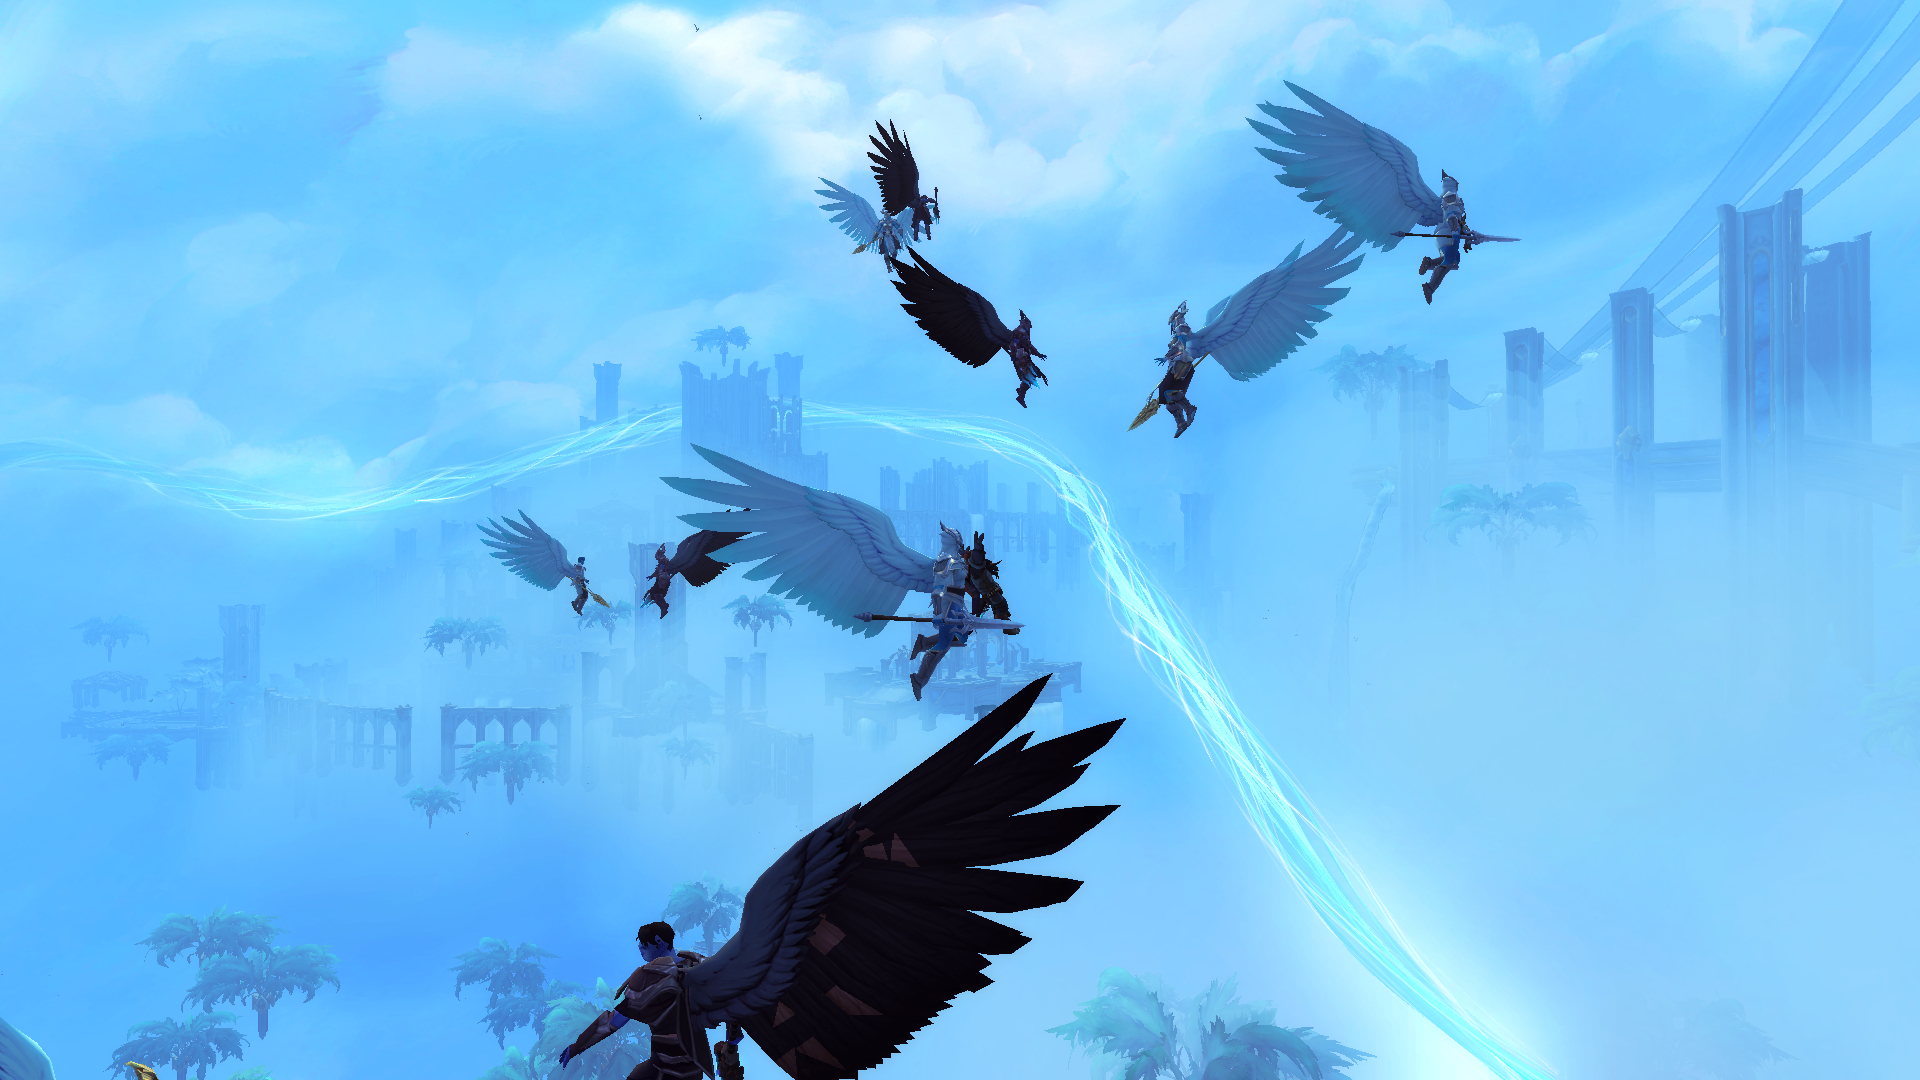
The character models don’t quite work when being airlifted - especially Tauren
Given the Covenant quests are now done, and Renown is stoppered at Level 40, a content pause is inevitable. I’m only now starting to ponder an Alt. But my Hunter needs one last very rare fish drop (some Wowhead comments have 30,000+ casts to catch it?! I’m only on 1000 - eek) to finish all the pre-Shadowlands fishing, so I’m loath to move her on. And my Rogue is busy catching pets from lower level zones, so she’s also busy.
Patch 9.1 sounds good, I’m looking forward to the story progressing. Sylvanas is super-interesting again - the questions raised by her tiny eye movements in the Chains of Domination trailer was excellent.

Hmmmmm
Hopefully 9.1 comes sooner rather than later, but in the meantime I’m managing to sneak in some Overwatch (I’m very rusty), and restarting Horizon Zero Dawn (and wondering why I stopped the first time ‘round - it’s excellent). Game alting - one benefit of being up-to-date in an MMO!
Warcraft: Tanking tips
A friend is about to try tanking for the first time, and as I was writing an email trying to provide some tips it occured to me that that’s what this blog is for! So here is a first attempt at a Warcraft Tanking Tips guide.
UI
UI is a very personal thing, but there are some basics that every tank should consider.
First, have your core rotation abilities on an action bar nice and central to your view. Add your self-heals and mitigation skills to the same bars, and try to gather them into logical groups. DPS on 1-3 and F1-F3, heals on 4 and F4, migitation on F5-F6, etc.
Second, bind your interrupt and taunt abilities to easily accessible keys - I use my mouse thumb keys, which makes interrupts super quick.
Third, have your name plates configured to show threat. There are many add-ons that do that - it’s built in to ElvUI, or there are stand-alone add-ons like Tidy Plates Threat Plates etc.
Fourth, put uour unit frames front and centre, probably on either side of your action bars. You need to always be able to see your health and debuffs, and the enemies - especially their cast-bars for interrupts and incoming migitable abilities. Sometimes a boss will take up so much of the screen that you will need to rely on the unit frame cast-bar to know what’s about to happen.
Fifth and finally, have your healer unit frames highlighted somehow. Maybe make them your focus (/focus in chat) so you can keep track of their health and mana. Their job is to keep you alive, so doing your best to return the favour is the least you can do, and knowing their status is key to that.
Rotation
Tanking rotations tend to be pretty simple - almost always priority based and generally about spreading your damage around equally between the enemy combatants.
Rotations tend to vary slightly depending on how many mobs are attacking you, but that’s usually just an easy swap of a single target attack for a multi.
Follow one of the Icy Veins guides for best results. Start with the Easy Mode options, and graduate to the more complex rotations as you gain confidence and knowledge. Or just stay on easy mode - it will work for everything up to Mythic.
Threat & Taunting
The main job of a tank is to keep all of the enemy mobs focussed on you, so your DPS and (most importantly) healers don’t die. The mechanism for that is Threat.
Tank classes have a boost to threat generation, so they will naturally pickup mobs when fights start. The trick is holding that threat when the DPS starts to ramp up.
One of the members of our regular group is vastly more powerful than the rest (and me as a tank), so they will quickly start to draw the attention of the mobs. To mitigate that, it’s important to spread my attacks around the mobs, and keep whatever AOE threat I have ticking over.
For a Paladin, that means plenty of shield-throwing, and keeping the ground around me constantly Consecrated. Other classes have similar abilities - for example Spinning Crane Kick and Keg Smash for a Brewmaster Monk.
With your single target attacks, don’t always focus on a single mob, watch your threat levels and throw out an attack on someone who is losing interest in you to keep them on task. The mob you’ve marked to die first (see ‘Pulling’ below) should be well in hand after a few rounds, so you can start to give the other adds some love to keep everyone on you.
Mobs will inevitably wander off mid-fight, so the other key thing to learn is how to Taunt. All tanks get a way to target a specific mob and force it to attack you. So be ready to taunt it back whenever something makes a beeline for your healer.
The other important use for taunt is to do a tank-swap on a raid boss, which allows you to take over tanking the boss from your co-tank during a phase change or other mechanic.
Interrupts
Many classes have interrupts, but tanks often have more than one. Unless you’ve got excellent voice comms or add-on coordination, taking responsibility for calling interrupts generally falls to the tank, though when starting out probably just let everyone interrupt whenever possible - with the exception of boss fights where some casts really need to be shut down.
You want to be confident you have an interrupt in hand for the important abilities, rather than relying on the DPS to do so or burning them on inconsequential casts. Keep one in reserve unless you know there’s nothing particularly bad incoming. And bind that ability to an easy to use key, as the window for a critical interrupt can be pretty short.
Mitigation & Defence
Mitigation means what is says on the box: being ready to use your abilities to mitigate incoming bursts of damage or special attacks. This should help smooth the damage curve, making it easier for healers to keep you alive. The bosses (and add-ons) tend to telegraph these moments, and every tank has several abilities that block damage or self-heal - use them for mitigation.
Warcraft tanking oscillates between being threat and mitigation focused, and currently sits somewhere in the middle. Threat tends to come naturally through your rotation, allowing you to concentrate on being ready to mitigate when needed.
The other key thing tanks have is a few ‘oh sh*t’ buttons. Things like burst heals or massive shield blocks, including some which make you invulnerable (which can have the associated problem of also dropping threat dramatically, so use with care). Some of these have long cool-downs, so plan how and when you would use them.
Line-of-sight
The curse of tanking can be ranged mobs, which stand at 1000 yards and bombard you with endless spells. One mechanism for stopping that is interrupts (they will run to you and attack with their puny daggers if they can’t cast anything), and the other is using Line-of-sight.
This basically involves gathering your team behind a corner or pillar or other landmark that is out of line-of-sight of the mobs. You can then pop around the corner, throw something at the mobs, and retreat. Because they can’t see you, the casters will all come jogging around the corner into your DPS death zone. Neat.
It’s not always possible - those designers are onto us! - but always worth looking around to see if you can use the infrastructure to your advantage.
Know-it-all
For one reason or another, tanks tend to end up leading dungeon runs and raids. Which means you have to know in advance the layouts, tricky trash pulls, and most of all the boss mechanics.
You need to be situationally aware during a fight, even if it’s just trash. Watch for incoming patrols or adds so you can grab them before they wail into your healer.
I try to explain the key boss mechanics as simply as possible before each pull, but there is a lot of on-the-fly learning and making it up as you go along too.
There are many many good YouTubers and websites out there to help with all this, so find one you like and watch the basics of each dungeon before entering. Someone even made a browser based Castle Nathria recreation to help learn the fights!
Also take advantage of party members who know the zones - our Warlock has run them all on Heroic or better, so leaning on their knowledge of short-cuts and scary trash is very helpful.
And finally - get either BigWigs/Littlewigs or Deadly Boss Mobs. They’re invaluable for giving you warnings of what is about to happen. They take over a lot of the screen, so be prepared for more confusion at first, but before long they become indispensable.
Your healer
Aka your best friend, soul-mate, and saviour. Always be kind, always check their mana (or equivalent), and thank them for keeping you (and everyone else) alive. If you have shareable protective abilities, reserve them for your Healer first, and you second. The longer they’re alive, the longer you will be too.
Pause when they need mana, heal them when you can, throw out shields on them as required. This can be hard at first, as you’re too busy trying to stay on top of the chaos, but over time you’ll start to be able to also watch your healer and help them out like they do you.
Your DPS
Your other best friends, without whom nothing would ever die. Or, if you’re a Paladin, nothing would ever die within an hour. The only thing you need to manage with DPS is holding back their unbridled enthusiasm: the tank always, always, pulls first.
Pulling & Marking
Speaking of. Whether it be mobs or bosses, you should always be the one initiating the fight. Use a readycheck (/readycheck in chat) when you need to (mainly bosses), and gently scold those that wander ahead and body or intentionally pull before you’re ready.
Before each pull, mark the mob that needs to die first with a skull - inevitably it’s the healer. If needed, mark the second most important target too with an X. The DPS’s job is then to get those two down fast, before finishing off the scraps.
You can also mark zones in the battle arena for your team to gather in or retreat to during the fight, to avoid boss mechanics etc. Add-ons make this much easier - a good one I found is Marking Bar Lives, which adds a small UI element with clickable mob and floor markers, readychecks, etc.
When you pull, get to the boss or in amongst the mobs, lay down some covering fire and AOE, try to face them away from the team (so you bear the brunt of frontal cone attacks), and go crazy.
Fun!
Tanking is very fun. You’re often covered in hundreds of angry mobs, or facing down a gigantic boss that covers the entire screen. It can become overwhelming, and button-mashing and panic sometimes seems the best option (and just might be!). But there’s nothing quite like holding together a massive fight through sheer stubborn tankery.
Have fun, stay calm, and tanking will become second nature. Enjoy!